
Ballistic Calculator
Master the Iron Nest ballistic calculator — elevation angles, powder charge calculations, range bands, common errors, and manual fallback when the calculator jams
Introduction
The ballistic calculator is the most important instrument in the Iron Nest turret, serving as the mechanical brain that translates raw range and bearing data into precise firing solutions. Input target range and bearing to receive elevation angles and powder charge numbers printed on a firing card. When the mechanical calculator jams — and it will, from powder residue or humidity — you must fall back to printed ballistic tables and manual interpolation to continue firing under time pressure. Mastering this tool is non-negotiable for effective gunlaying, and guides cover input verification, output interpretation, wind correction factors, temperature adjustments, and the complete manual fallback procedure.
Calculator Input/Output Reference
| Step | Input | Output | Common Error |
|---|---|---|---|
| 1 | Range (meters from map) | — | Truncating meters early loses precision |
| 2 | Shell type selection | — | Wrong shell type gives wrong arc solution |
| 3 | Range + Shell | Elevation angle (degrees) | Fractional-degree errors compound at range |
| 4 | Elevation + Shell | Powder charges (1-6) | Too few falls short, too many overshoots |
| 5 | All parameters | Firing card (record solution) | Not recording makes jam recovery impossible |
Calculator Tools
Elevation Calculator
Automatic elevation angle computation based on range and target altitude
Powder Charge Selector
Optimal charge recommendation for range and shell weight combinations
Range Band Calculator
Determines optimal range band and firing solution parameters
Firing Card System
Pre-computed reference cards for manual fallback when calculator fails
Wind & Temp Correction
Environmental adjustment calculations for non-standard conditions
Core Mechanics
The ballistic calculator is the turret's most critical instrument for accurate fire delivery. Operators enter three primary values: target range (measured via the tactical map or Iris tool), elevation angle (determined by the range-to-elevation conversion table), and powder charge weight (selected from the lever bank). The calculator cross-references these inputs and outputs a firing solution. However, the calculator can jam — mechanical gears seize, dials stick, and humidity causes paper tables to swell. When this happens, operators must fall back on manual calculation using the printed ballistic tables and mental arithmetic. Common errors include powder charge mismatch (selecting the wrong lever for the range band), elevation drift (the dial slowly moves under recoil vibration), and wind offset (failing to apply crosswind corrections from the wind gauge). Each error compounds: a 0.1° elevation error at 3000m range means a 5m miss. The calculator section covers all error types, their root causes, manual fallback procedures, and preventive maintenance to keep the mechanism running smoothly.
Advantages
The ballistic calculator provides the primary fire solution method, turning raw range and bearing data into precise elevation and powder charge settings. When functioning correctly, it eliminates calculation errors entirely — enter the correct inputs and the output is a guaranteed hit within the shell's blast radius. The calculator also serves as a teaching tool: operators who study its output patterns internalize the relationship between range, elevation, and charge weight, eventually developing an intuitive sense for manual calculation. The manual fallback procedure, while slower, ensures that a jammed calculator never leaves the operator helpless. Documented error types with root causes and fixes transform every failure into a learning opportunity. The calculator's mechanical nature also reinforces the game's dieselpunk immersion — the clicking gears and spinning dials feel like operating a real analog computer from the 1930s.
Challenges
The ballistic calculator's greatest weakness is its mechanical unreliability — it jams at inconvenient moments, forcing operators to switch to slower manual calculation under time pressure. The jam rate increases with prolonged use and humidity, meaning extended challenge mode sessions become progressively more difficult as the calculator degrades. Manual fallback requires memorizing range-to-elevation conversion tables and performing mental arithmetic, skills that take significant practice to develop. Even when functioning, the calculator's output is only as good as its inputs: a 100m range error from the tactical map produces a proportionally inaccurate fire solution. The calculator also cannot account for wind in real-time — operators must manually read the wind gauge and apply corrections, adding another potential error source. The reliance on a single mechanical device for fire solutions creates a fragile workflow where one failure cascades through the entire firing process.
Frequently Asked Questions
What do I do when the calculator jams?+
How precise does my range input need to be?+
Does shell type affect the calculator output?+
Quick Tips
Verify your calculator inputs before every shot: check that the range matches your map measurement, the elevation matches the range-band table, and the powder charge matches the selected lever position. A single input error produces a miss; two errors compound dramatically. The calculator is only as accurate as the data you feed it.
Tap the calculator housing sharply when it jams — mechanical gears can seize from powder residue or humidity. If tapping does not work, switch to the printed ballistic tables for manual calculation. Never force the dials, as this can cause permanent damage to the mechanism and increase future jam frequency.
Read the wind gauge before every fire mission and apply the correction factor from the ballistic table appendix. Wind affects horizontal impact at all ranges but becomes critically important beyond 2000m, where even a moderate crosswind can deflect a shell by dozens of meters from the intended impact point. This practice becomes increasingly important during extended sessions where fatigue and repetition can lead to complacency and costly mistakes.
Featured
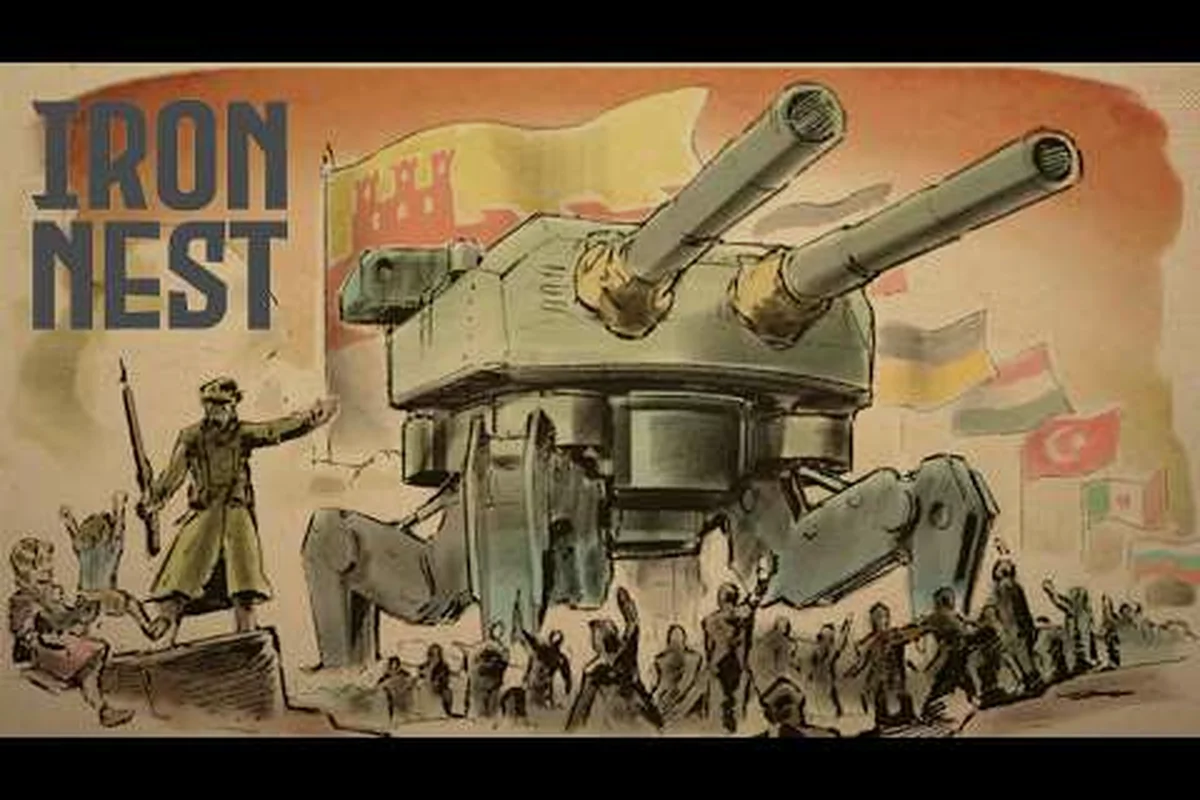
Iron Nest Ballistic Calculator: Firing Solutions Guide
Master the Iron Nest ballistic calculator with our complete guide to elevation angles, wind correction, powder charges, and firing card interpretation.
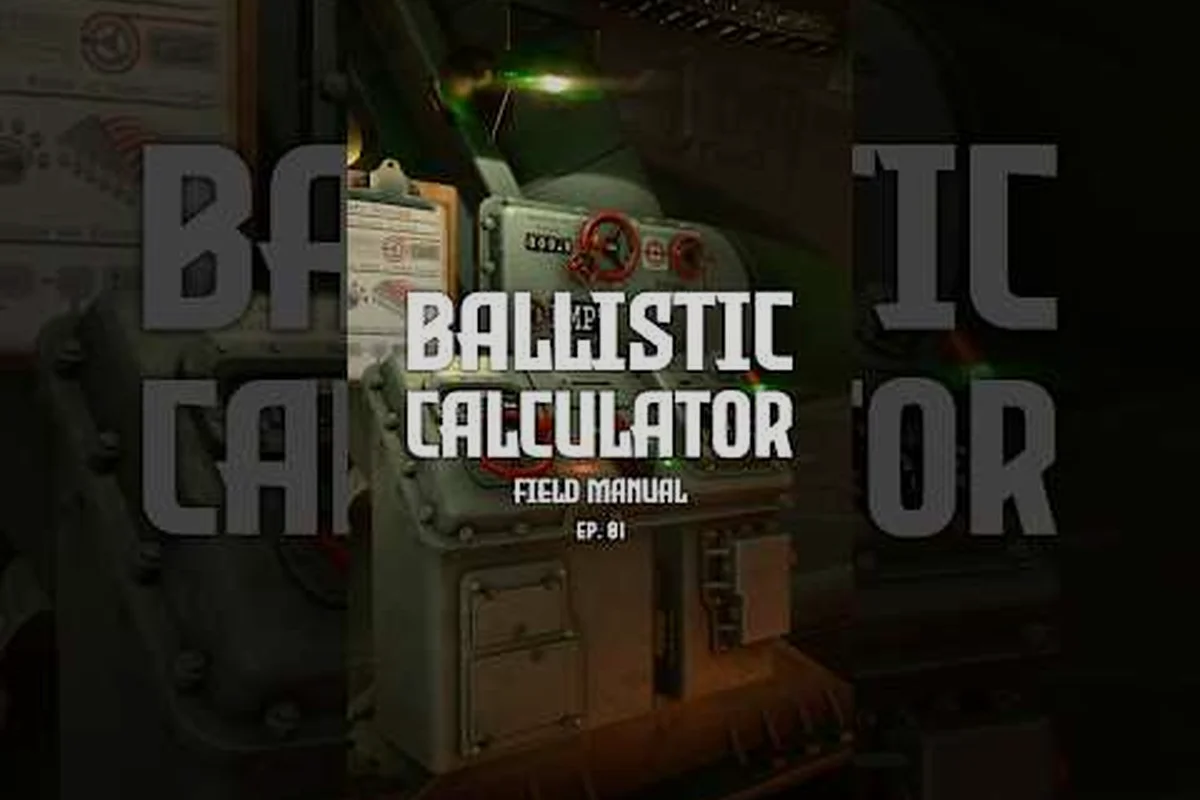
Iron Nest Firing Cards: Manual Aiming & Calculator Fallback
Learn how Iron Nest firing cards work, when to use manual aiming, and how to handle calculator fallback when your ballistic computer fails mid-battle.

Iron Nest Powder Charge Guide: Charge Level Selection Tips
Master powder charge mechanics in Iron Nest with this charge level selection guide covering powder ranges, loading order, and tactical tradeoffs.
All Articles
Iron Nest Calculator Outputs: Reading Firing Data & Values
Learn how to read Iron Nest calculator outputs, translate bearing and elevation into gunlay, and pair them with the right powder charge for accurate fire.
Iron Nest Range to Elevation Conversion: Ballistic Data
Master Iron Nest range to elevation conversion in the ballistic calculator. Learn firing cards, powder charges, and fire solutions for every mission.
Iron Nest Elevation Angle: Accurate Fire Solutions Explained
Master elevation angle in IRON NEST's ballistic calculator. Learn fire solution calculation, powder charge selection, and accurate shot execution tactics.
Iron Nest Wind Correction Guide: Drift, Range & Temperature
Master wind correction in Iron Nest with our ballistic calculator guide covering drift, range, temperature, and atmospheric factors for heavy turret accuracy.