
Tactical Map
Iron Nest tactical map mastery — coordinate system, grid references, spotter triangulation, pencil management, Iris tool, and bearing line drawing techniques
Introduction
The tactical map is your primary intelligence tool and the first step in every fire mission. The 20x10 grid with subcells allows precise coordinate plotting for target acquisition and range measurement. Red, yellow, and white pencils mark different information types — active targets, planned fire missions, and completed engagements. Spotter triangulation from two observation points locates targets with bearing line intersection, and the Iris tool previews blast radius before you fire, preventing wasted shells on targets outside effective range. Mastering map operations directly translates to firing accuracy, and every mistake in coordinate plotting compounds through the ballistic calculator into missed shots downrange.
Map Tools & Pencil System
| Tool | Purpose | Key Rule |
|---|---|---|
| Grid (20×10) | Coordinate plotting and range measurement | Use sub-cells for precision — each cell divides further |
| Red Pencil | Active firing solution | Mark your firing bearing and target position |
| Yellow Pencil | Support and triangulation | Draw spotter bearing lines for intersection |
| White Pencil | Planning and estimates | Sketch future targets without committing |
| Iris Tool | Blast radius preview | Preview area-effect coverage before firing |
Map Tools
Coordinate System
20x15 grid with alphanumeric references for precise target location
Spotter Triangulation
Use multiple observer positions to pinpoint exact target coordinates
Pencil & Iris Tool
Drawing and measurement tools for tactical map annotations
Bearing Lines
Draw directional lines from observer positions to identify target locations
Range Estimation
Visual and mathematical methods for determining target distance
Core Mechanics
The tactical map is the operator's primary tool for target acquisition and fire mission planning. It uses a military grid reference system where the 20×10 operational area is divided into numbered sectors and lettered sub-sectors, allowing precise coordinate notation like "7B-3". Four key tools work together on the map: the coordinate grid for precise position plotting, spotter triangulation (intersecting two or more bearing lines from different observation posts to pinpoint a target), the Iris range-finding tool for measuring distance to visible landmarks, and pencil management for drawing bearing lines, danger zones, and firing corridors. Spotter reports arrive as encrypted messages with bearing and estimated range — operators must decode these, plot the lines on the map, and calculate the intersection point. The pencil system allows multiple concurrent fire missions to be tracked with different colored markers. Map accuracy directly impacts every downstream calculation: a 100m error in target plotting becomes a 100m error at impact. The tactical map section also covers coordinate conversion, dealing with incomplete spotter data, and map tool maintenance.
Advantages
The tactical map provides a comprehensive command-and-control interface that centralizes all target intelligence into a single visual workspace. The military grid system ensures precision — operators can specify target locations to within a few meters using standard coordinate notation. Spotter triangulation converts multiple bearing reports into exact positions, while the Iris tool provides independent range verification. Pencil management allows simultaneous tracking of multiple fire missions with color-coded markers, enabling batch targeting and sequential fire planning. The map directly feeds data into the ballistic calculator, creating a seamless workflow from target acquisition to fire solution. Operators who master all four map tools gain a significant advantage in challenge modes, where rapid plotting and efficient mission sequencing directly improve leaderboard scores.
Challenges
The tactical map's primary weakness is its dependency on spotter reports, which arrive as encrypted messages that must be decoded before use. Incomplete or delayed spotter data leaves operators plotting targets with insufficient information, reducing accuracy. The coordinate grid system, while precise, requires training to read correctly — misreading a sector designation by one letter or number causes a 500m+ plotting error. Pencil management becomes unwieldy during high-tempo missions with multiple concurrent targets; colored pencils break, lines overlap, and erasing is difficult on the vellum surface. The Iris tool requires clear visibility and known reference points, both of which can be unavailable during weather effects or in unfamiliar terrain sectors. Triangulation accuracy degrades with distance — two bearing lines from nearby positions produce a wider error margin than lines from distant observation posts, forcing operators to balance speed (close spotters) against precision (distant spotters).
Frequently Asked Questions
What is the largest map mistake beginners make?+
How do I use the Iris tool effectively?+
Should I clear old pencil marks between missions?+
Quick Tips
Always mark your battery position first on the map before plotting any targets. All bearing lines and range measurements are relative to your known position — if you do not know where you are, you cannot accurately plot where targets are relative to your guns. This practice becomes increasingly important during extended sessions where fatigue and repetition can lead to complacency and costly mistakes.
Use different colored pencils for different mission phases: red for active targets, blue for planned targets, green for completed missions, and yellow for spotted but unconfirmed targets. This color coding prevents confusion during batch targeting when multiple fire missions are in progress simultaneously. This practice becomes increasingly important during extended sessions where fatigue and repetition can lead to complacency and costly mistakes.
Calibrate the Iris tool at the start of every session by measuring a known-distance landmark and comparing the Iris reading against the actual distance. If the reading is off, adjust or note the offset and apply it as a correction factor for all subsequent measurements during that session. This practice becomes increasingly important during extended sessions where fatigue and repetition can lead to complacency and costly mistakes.
Featured
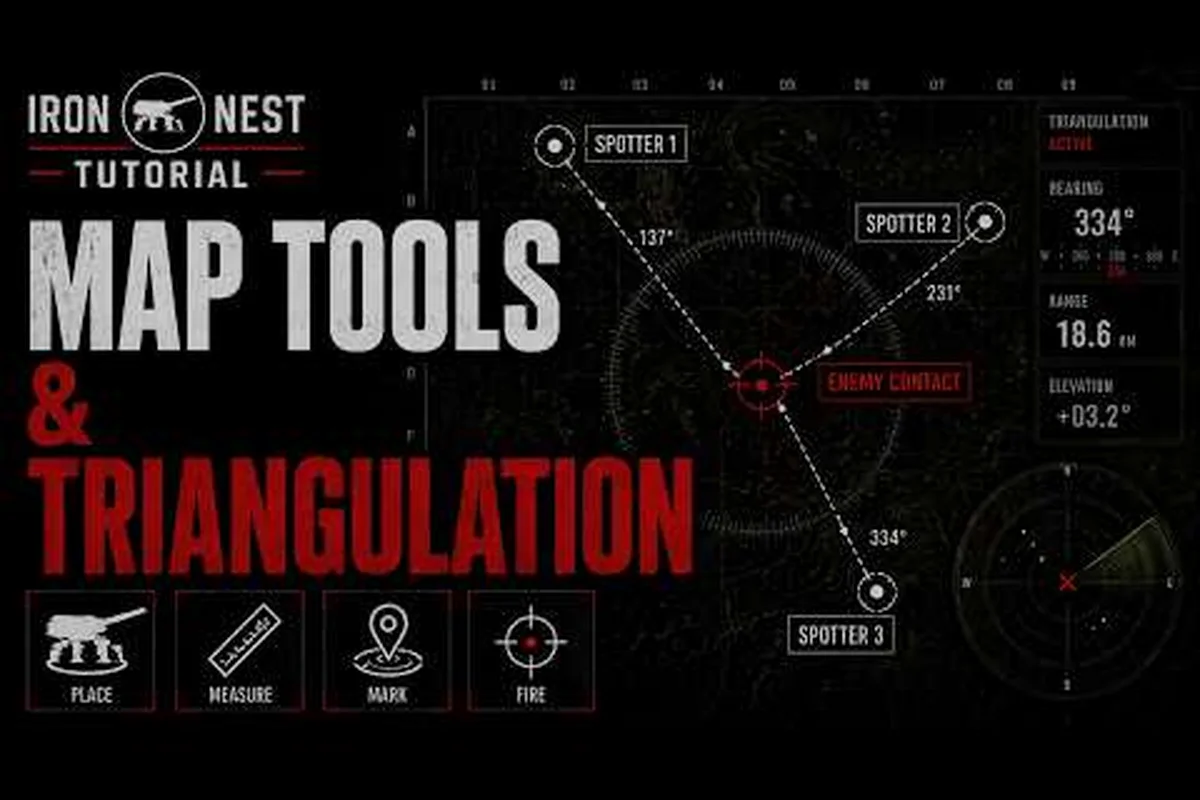
IRON NEST Range Estimation Guide for Distance Calculation
Master IRON NEST range estimation with proven distance calculation techniques. Read tactical maps, plot coordinates, and convert spotter reports into accurate fire solutions.
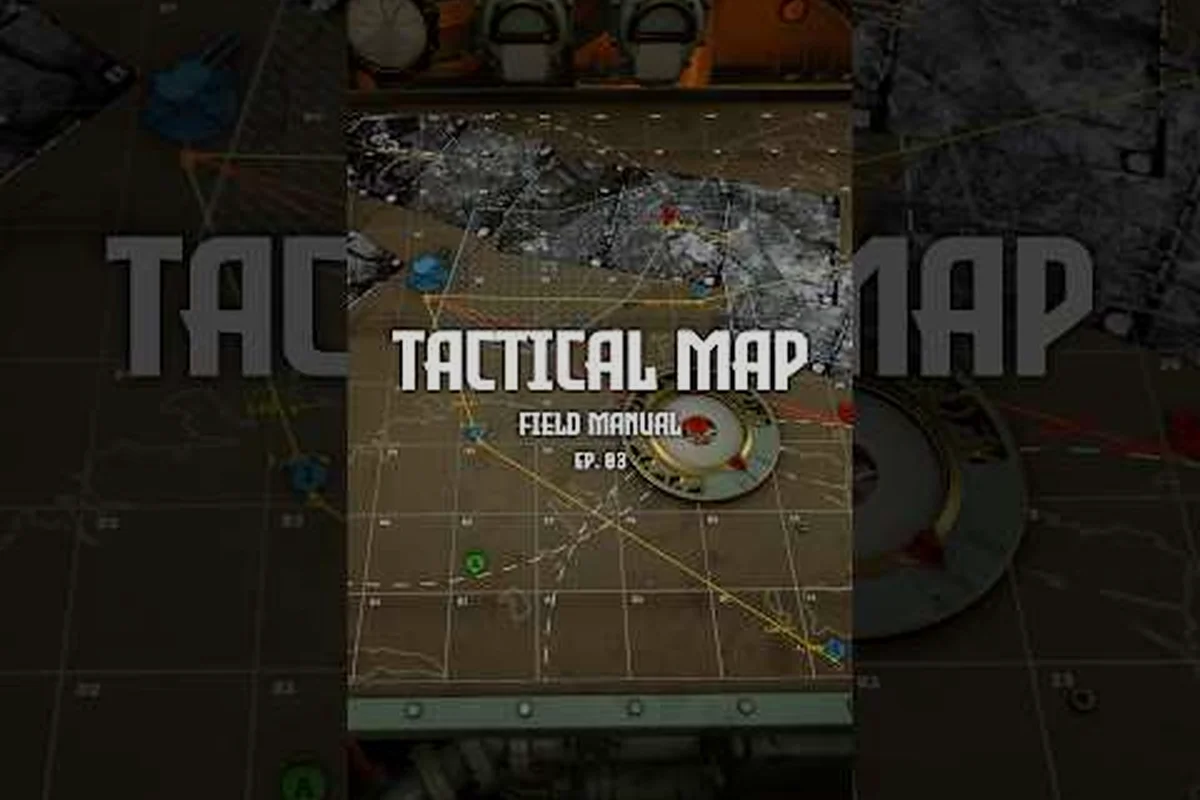
Iron Nest Tactical Map Overview: Guides and Navigation
Master the Iron Nest tactical map system with guides on coordinate systems, grid references, range estimation, and pencil and Iris tools.
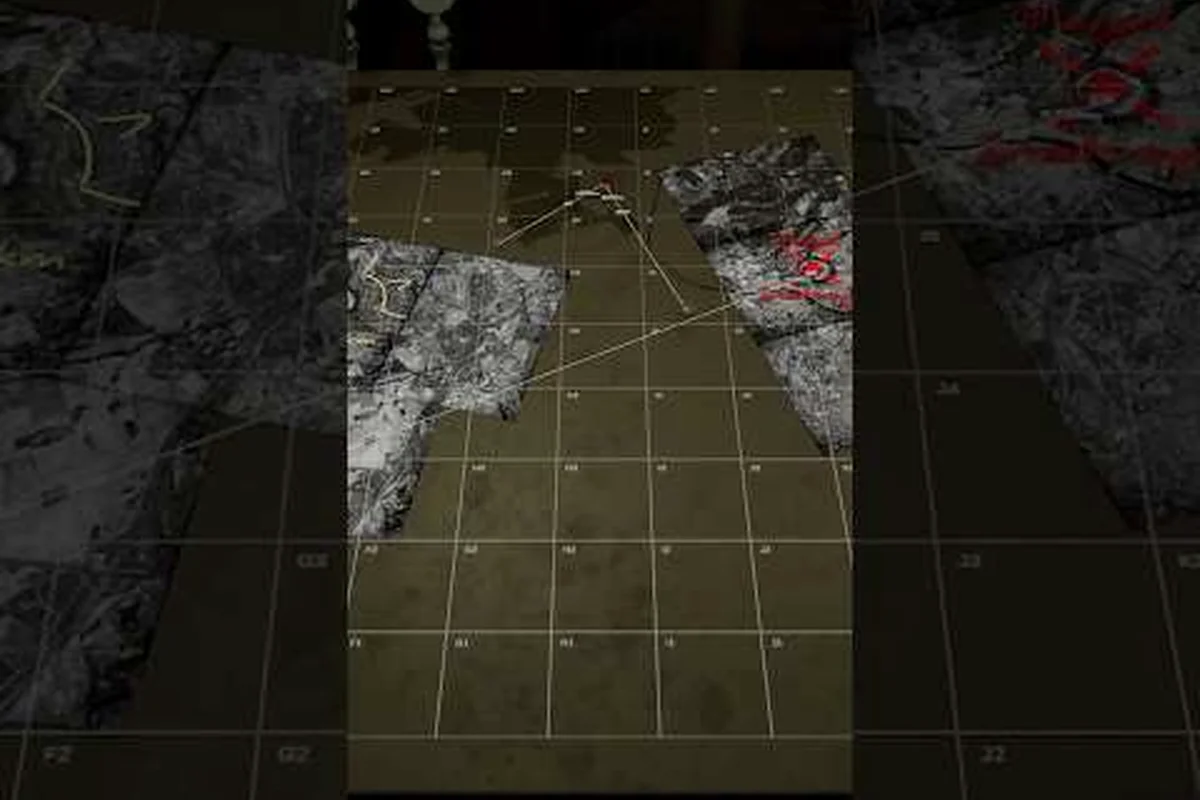
Iron Nest Coordinate System Guide: Grid Mapping and Spotting
Master the coordinate system in Iron Nest with our grid mapping guide. Learn bearings, elevation, and spotting techniques for precise shots.
All Articles
Iron Nest Grid Reference Guide: Mark Targets on Maps
Master the Iron Nest grid reference guide system. Learn to plot enemy targets on tactical maps, decode coordinates, and feed accurate data to your ballistic calculator.
Iron Nest Coordinate System: Military Grid Reference
Master the Iron Nest coordinate system: learn how the 20x10 military grid, sub-cell notation, and fixed position marker drive accurate target plotting.
Iron Nest Map Tools: Spotting, Plotting, and Range Logic
Master Iron Nest map tools from the tactical table and pencil to the Iris plotting tool, with workflow tips for accurate bearings, ranges, and target data.
Iron Nest Pencil & Iris Tools: Map Drawing & Spotting Guide
Master the pencil tool, Iris tool, and Iron Nest map drawing workflow in Heavy Turret Simulator. Learn red/yellow/white pencil rules and grid plotting.
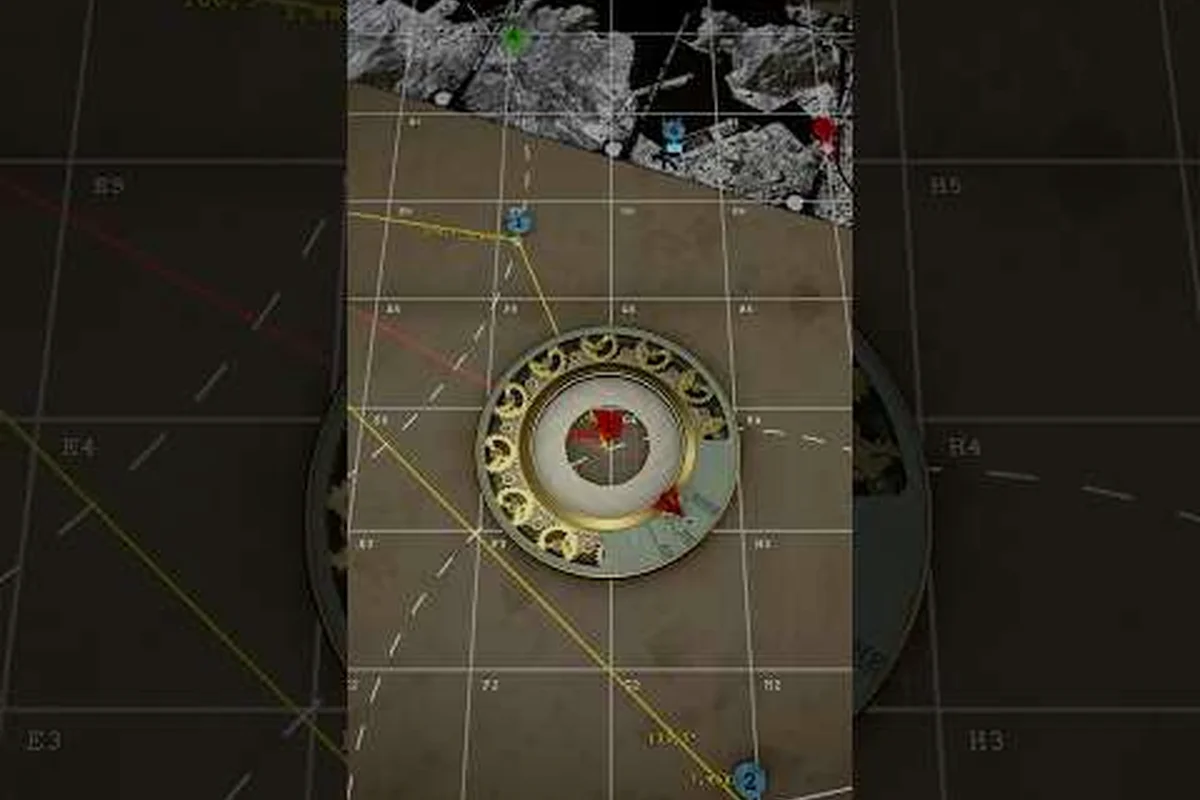
Iron Nest Tactical Map: Grid, Bearing & Spotter Tools
Master the Iron Nest tactical map with this complete grid, bearing, and triangulation guide. Learn plotter tools, spotter bearings, and pen color codes.