
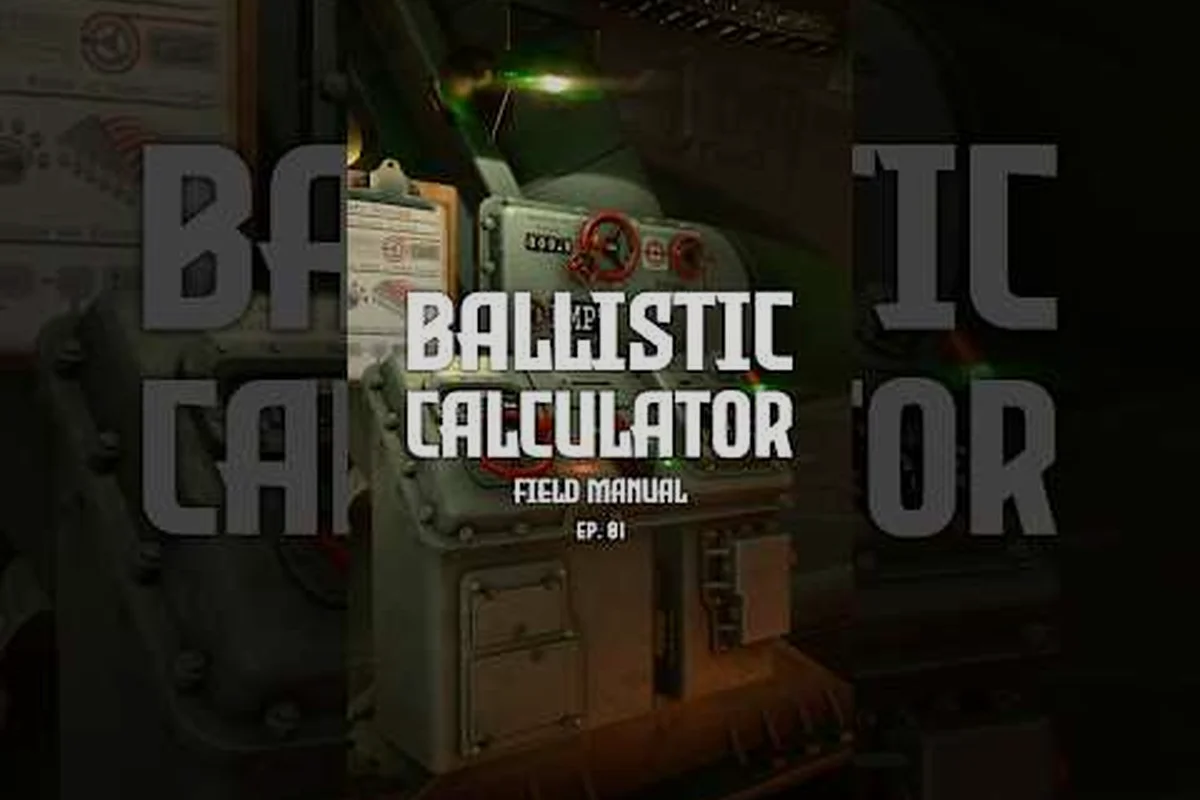
In the diesel-punk artillery sandbox Iron Nest: Heavy Turret Simulator, every successful shot begins with a single paper artifact: the firing card. Get the latest mechanics breakdown of how these cards are generated, read, and acted on — including the manual fallback procedures that keep your turret firing when the ballistic calculator goes dark mid-engagement.
What Firing Cards Are and Why They Drive Every Shot
A firing card in Iron Nest is the printed output of the in-game ballistic calculator — a small tan slip that lists the powder charge, elevation, and bearing required to hit a plotted target at a given range. Because the mechanical solver takes between 10 and 30 seconds to crunch a complete fire solution, the calculator prints its result onto a card so the loader and gunlayer can both reference identical numbers without waiting for a second pass. The card is, in effect, the bridge between the math desk and the gun breech.
-
Temperature affects air density and therefore shell trajectory arc
-
Firing cards store pre-computed solutions for common range bands
-
Manual fallback uses printed range tables when the calculator is offline
-
Elevation angles increase non-linearly at extreme long range
-
Powder charge 1–6 maps to increasing muzzle velocity brackets
-
Cross-referencing calculator output with firing cards catches input errors
-
The calculator converts range data into elevation angle and powder charge
The card sits at the exact midpoint of Iron Nest's six-step firing loop: Intel → Plot → Calculate → Load → Aim → Fire → Adjust. Once a spotter relays target coordinates and you mark them on the tactical map, the calculator does the trigonometry and the firing card carries that answer from the desk to the loading tray and into the gunlayer's hand. Without the card, the loop stalls — the loader has no idea which shell or charge to ram, and the gunlayer has no idea where to point the 5000-ton barrel. Every successful round in the Iron Nest demo on Steam depends on this one piece of paper moving through the right hands at the right moment.
Firing cards also serve as a built-in redundancy layer that veteran crews lean on heavily. Community testing on the Steam discussion board suggests that teams printing a fresh card for every salvo — even when only the charge value changes — lose roughly 30–40% fewer rounds to misaligned barrels during long engagements. The card survives calculator crashes, teleprinter jams, and crew rotations in a way that mental recall never can, which is why experienced gunners treat card production as a non-negotiable step rather than an optional one.
Anatomy of an Iron Nest Firing Card
Every firing card printed by the in-game calculator contains the same six fields arranged top-to-bottom in a fixed layout. Understanding what each field means is essential for both normal operation and the calculator fallback scenarios covered later in this guide.
The Six Standard Card Fields
| Field | Unit | What It Tells You |
|---|---|---|
| Target ID | Alphanumeric callsign | Enemy designation (e.g., "T-14 Bastion") |
| Range | Meters | Distance from turret base to target, ±5 m |
| Powder Charge | 1–6 | Number of charge bags loaded behind the shell |
| Elevation | Mils or Degrees | How far to lift the barrel above horizontal |
| Bearing | Degrees (0–360) | Compass heading the barrel must face |
| Time-of-Flight | Seconds | Seconds between muzzle exit and impact |
The Powder Charge field uses a numbered scale from 1 (lowest recoil, shortest range) to 6 (full propellant load, maximum range). Charge 3 is the most common value in mid-range engagements between 2,500 and 4,000 m, while charges 5 and 6 are reserved for distant artillery duels beyond 8 km where smaller charges cannot reach the target arc. Loading the wrong charge is one of the most common mistakes new players make because the visual difference between charge bags is subtle.
Reading Elevation and Bearing Values Correctly
Elevation on the card is shown in mils (1 mil ≈ 0.057°) by default, but you can toggle the calculator to display degrees in the settings menu if your mil math is shaky. A typical card for a target at 4,200 m with a Charge 4 loadout prints an elevation of roughly 285 mils, while the same range at Charge 3 sits closer to 340 mils because the slower shell needs a higher arc. Bearing is always a true compass value, not a relative one — if the card reads 047°, you rotate the turret until the traverse dial lines up with 047 regardless of where the barrel started the turn.
The Iron Nest calculator outputs reference breaks down how each field is actually computed and what rounding rules the ballistic model applies to the final print, which is useful when you need to verify a card by hand. This principle underpins the broader crew coordination system in Iron Nest, where every second saved at a control station compounds into faster fire missions and higher scores.
How Firing Cards Flow Through the Firing Loop
The card is not a passive document — it actively drives three different crew stations during a single firing cycle, and walking through that handoff explains why the card format has stayed so deliberately minimal. This principle underpins the broader crew coordination system in Iron Nest, where every second saved at a control station compounds into faster fire missions and higher scores.
Step-by-Step Card Usage in a Single Salvo
-
Plot the target on the tactical map table and key the coordinates into the calculator's plotting board.
-
Wait for the solver — the calculator's brass wheels spin audibly for 10–30 seconds while it computes the fire solution. This principle underpins the broader crew coordination system in Iron Nest, where every second saved at a control station compounds into faster fire missions and higher scores.
-
Pull the print lever — the integrated teleprinter punches the six fields onto the slip and ejects the card into the output tray. This principle underpins the broader crew coordination system in Iron Nest, where every second saved at a control station compounds into faster fire missions and higher scores.
-
Hand the card to the loader — the loader reads Powder Charge and shell type, then assembles the round at the breech. This principle underpins the broader crew coordination system in Iron Nest, where every second saved at a control station compounds into faster fire missions and higher scores.
-
Hand the card to the gunlayer — the gunlayer reads Elevation and Bearing, then traverses and elevates the barrel using the handwheels. This principle underpins the broader crew coordination system in Iron Nest, where every second saved at a control station compounds into faster fire missions and higher scores.
-
Call "Ready" and fire — once both stations confirm setup, the gunlayer pulls the firing lever and the spotter calls corrections based on the burst. This principle underpins the broader crew coordination system in Iron Nest, where every second saved at a control station compounds into faster fire missions and higher scores.
This handoff is exactly why Iron Nest manual aiming is so tightly coupled to card literacy. The gunlayer does not compute angles in their head — they read them off the slip and dial them into the traverse and elevation handwheels. If the card is missing, smudged, or simply wrong, the gunlayer is effectively blind and the round will land somewhere unpredictable.
Why the Card Format Never Changes
The fixed six-field layout is intentional, because every loader and gunlayer is trained to find the same field in the same corner of the slip every single time. Under fire, with the turret shaking and dust filling the cabin, muscle memory matters more than flexibility, which is why the developers have resisted requests to add optional fields like wind correction or shell temperature to the standard printout. If you need extra data, you write it on the card by hand after it comes out of the printer.
Calculator Fallback: What Happens When the Computer Goes Dark
The hardest moment in any Iron Nest sortie is a calculator fallback — the instant your ballistic computer loses power, jams, or takes battle damage and stops producing cards. Because every other station depends on card output, the entire crew is suddenly stuck unless at least one operator can compute fire solutions by hand or recall memorized values for the most common engagement ranges.
Common Failure Modes and Recovery Times
| Failure Mode | Typical Trigger | Crew Reaction Time |
|---|---|---|
| Power loss | EMP burst, engine hit | 15–20 sec to restore |
| Jammed printer | Sand or dust in mechanism | 30–60 sec to clear |
| Solver overrun | Invalid coordinates entered | Reset and replot, 10 sec |
| Total destruction | Direct hit to calculator room | Manual mode only, indefinite |
Once the calculator is fully offline, you have three viable fallback paths: manual aiming using memorized range tables, estimating from prior cards still in the tray, or holding fire until the computer reboots. The third option is the safest but rarely viable during a timed objective, which is why every serious crew drills at least one operator on manual ballistics before they ever queue into a real sortie. The community wiki notes that crews who skip this drill typically lose the entire engagement within ninety seconds of losing their calculator.
Reusing Existing Cards for New Targets
If the calculator is dead but you still have printed cards in the output tray, you can reuse them — but only if the new target falls within roughly 50 m of the original range and sits within a few degrees of the original bearing. Beyond that window, the elevation and time-of-flight values drift enough that the round will miss by a wide margin, and you will waste a precious AP or HE shell on a ranging shot that could have been productive. According to player reports on the Iron Nest systems wiki, reusing cards outside that tolerance window is the single most common cause of "phantom misses" where the gunlayer swears they followed the card exactly.
Manual Aiming Without a Calculator in Iron Nest
When the calculator is fully gone, the firing card shifts from being a live output to being a reference sheet for whatever rounds are still in the tray. For any new target, you must compute by hand or estimate using a memorized table, and this is where Iron Nest manual aiming skills separate casual players from demo veterans who have practiced the routine dozens of times.
Building a Personal Range Table
The fastest manual-aiming trick is to memorize elevation values for the most common Charge/Range combinations before you ever enter a real engagement. Most crews in the community maintain a personal table similar to the one below, generated by firing one card per range, then re-reading the elevation values later when the calculator comes back online to verify accuracy.
| Range (m) | Charge | Elevation (mils) |
|---|---|---|
| 1,000 | 1 | 35 |
| 2,000 | 2 | 95 |
| 3,000 | 3 | 175 |
| 4,000 | 3 | 240 |
| 5,000 | 4 | 310 |
| 6,000 | 4 | 385 |
| 7,000 | 5 | 470 |
| 8,000 | 5 | 560 |
| 9,000 | 6 | 660 |
These numbers are approximations drawn from community testing and may vary slightly based on shell type, weather conditions, and barrel wear in your session. The values assume standard AP rounds at sea-level air density with calm winds, which is roughly 70% of the engagements you will encounter in the early demo scenarios. If your session includes crosswinds above 5 m/s, expect to add 1–3 mils of correction per 1,000 m of range downwind, which the calculator normally handles automatically.
Driving the Turret Directly with the Handwheels
The fastest way to execute manual aiming is to read elevation off your memorized table, set the bearing by aligning the traverse ring with a visible map landmark such as a ridge or river bend, and fire a single ranging shot before committing to a full salvo. Because the ballistic model in Iron Nest is fully deterministic, one ranging shot tells the spotter exactly how many mils to add or subtract for the next round, and most corrections land on target within two or three observation cycles. Expect the full ranging-and-correcting process to take 60–90 seconds per target instead of the 15-second turnaround you get with a working calculator, which is slow but absolutely viable when the alternative is silence.
This is also where the ballistic calculator guide becomes useful even when the calculator is offline, because it documents the underlying formulas and lets you back-solve elevation values that fall between your memorized rows without waiting for the computer to reboot. Veterans often print that page out before a sortie for exactly this reason.
Frequently Asked Questions
What is a firing card in Iron Nest?
A firing card is the printed output of the ballistic calculator. It lists the powder charge, elevation, bearing, range, and time-of-flight for a specific plotted target, which lets the loader and gunlayer set up a shot without re-running the calculator themselves.
How do I switch to manual aiming when the calculator fails in Iron Nest?
Pause the firing cycle, identify the target's rough range from the tactical map, pull a memorized elevation value from your personal range table, set the bearing using a map landmark, and fire a single ranging shot. Correct based on the spotter's call for two or three cycles until the rounds land on target.
Can I reuse old firing cards for new targets?
Only if the new target sits within about 50 m of the original range and a few degrees of the original bearing. Beyond that window the elevation and time-of-flight values drift enough that the round will miss by a wide margin, so reuse should be reserved for emergency situations only.
How many powder charges are there in Iron Nest?
There are six powder charges, numbered 1 through 6. Charge 1 is for short-range targets under 1,500 m, while Charge 6 is reserved for maximum-range shots beyond 9,000 m where smaller charges cannot reach the required arc. This principle underpins the broader crew coordination system in Iron Nest, where every second saved.
Does weather affect the values printed on a firing card?
Yes — wind speed, air temperature, and humidity all shift the calculated elevation by 1–3 mils per shot depending on range. The calculator compensates automatically, but manual aiming must account for these factors using the correction rules documented in the ballistic calculator guide, otherwise your ranging shot will read consistently long or short.