
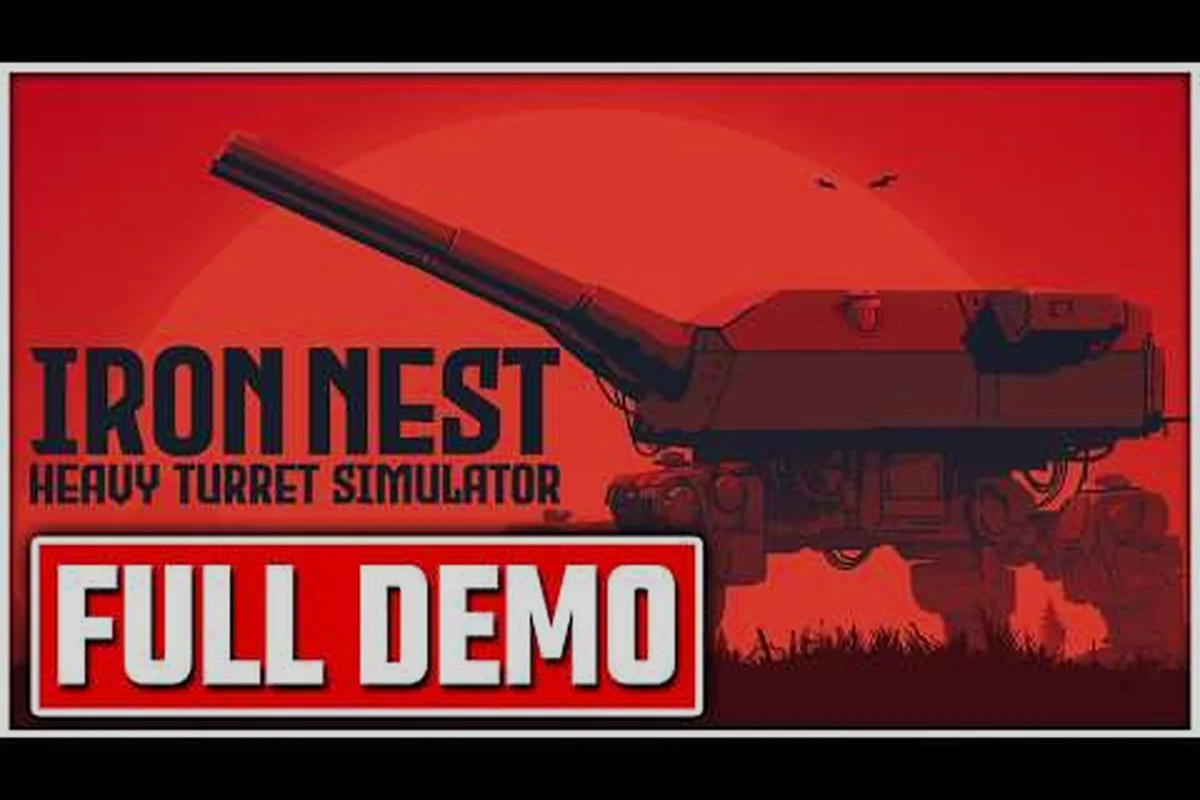
Rotating the turret is the first physical action you'll take inside a 5,000-ton diesel-punk walking fortress, and it decides whether your shell lands on target or vanishes into the horizon. This Iron Nest how to rotate turret breakdown covers bearing, traverse, and gunlay so you can swing the barrel fast and accurately. Master these controls and every shot after becomes a calculated strike instead of a coin flip.
Overview of Turret Rotation in Iron Nest
Before you fire a single round in IRON NEST: Heavy Turret Simulator, your crew needs to swing the gun toward the correct compass heading, a process the game calls traverse. Traverse is purely horizontal rotation, the left-right sweep of the entire turret housing mounted on the quadruped walker. It is one half of gunlay, the procedure that aligns the barrel to a firing solution before each shot.
-
Handwheel speed limits prevent overshooting target bearing marks
-
Traverse and elevation must be set simultaneously for accurate aiming
-
Loading errors occur when powder charge and shell type are mismatched
-
Bearing rotation uses the traverse handwheel with degree markings
-
Elevation control adjusts the barrel angle for range compensation
-
Shell selector lever positions correspond to different ammunition types
-
Loading platform sequence must follow exact breech-loading order
-
Turret rotation speed averages 4 degrees per second at full handwheel turn, requiring pre-positioning during calculator computation
-
The traverse dial reads in mils from 0 to 6,400, with the turret's forward bearing at 3,200 mils
-
Rotating past the target bearing requires a counter-rotation that costs 3-5 seconds — decelerate before reaching the set point
The horizontal direction you are aiming at is called the bearing, measured in mils (0-6400) or degrees depending on your regional setting. The vertical lift is elevation, which is a separate control. Players regularly mix them up, which is why this Iron Nest how to rotate turret walkthrough starts with the basics and builds toward fast-tracking moving armor. If you want a wider look at the full firing loop, see our first firing solution walkthrough which covers intel through impact in one read.
| Control Axis | In-Game Term | Direction | What It Moves |
|---|---|---|---|
| Horizontal | Traverse | Left ↔ Right | Entire turret housing |
| Horizontal value | Bearing | 0°–360° (or 0–6400 mils) | Target heading number |
| Vertical | Elevation | Up ↕ Down | Barrel angle only |
| Combined action | Gunlay | Both axes | Barrel aligned to firing card |
Traverse alone will not fire the gun, because the ballistic calculator still has to resolve the full firing solution — elevation, powder charge, and wind correction — before the firing handle unlocks, which means rotation speed must be balanced against the calculator's processing time, but without correct horizontal rotation your shots land miles off even at perfect elevation.
Understanding Bearing and Traverse Mechanics
The traverse system in Iron Nest is mechanical, not snap-to-target. You turn the wheel, the turret rotates with momentum, and you brake to land on the bearing printed on the firing card. Understanding how fast the turret moves, how much momentum it carries, and how bearing values are displayed is the difference between a first-round hit and a four-shot correction cycle.
Bearing vs Elevation
Bearing is the horizontal direction your barrel points after rotation, while elevation is how high the muzzle tilts. They live on different dials and you adjust them with different controls, which is why gun crews call them independent axes. A common rookie mistake is to spin the traverse wheel expecting the barrel to also tilt up, when in reality elevation has its own handwheel near the breech. Keep the two systems mentally separated and the rest of gunlay falls into place quickly.
| Term | Axis | Typical Range | Display Unit | Adjusted With |
|---|---|---|---|---|
| Bearing | Horizontal | 0°–360° | Degrees or mils | Traverse handwheel |
| Elevation | Vertical | 0°–85° | Degrees or mils | Elevation handwheel |
| Gunlay | Combined | n/a | Match firing card | Both wheels in sequence |
Turret Rotation Speeds
The quadruped walker carries a 5,000-ton turret, so traverse is not instant. The default rotation rate in early missions sits around 4° per second of wheel input, and heavy charge shells at long range require more precise bearing alignment than closer chemical rounds. The game does not give you a speedometer for traverse, but community testing on the Demo build suggests you have roughly a 15-second window to swing from one flank to the other on the largest maps.
Charge number also affects how forgiving your bearing is, because higher charges stretch your flight time and any horizontal drift multiplies across the longer arc. Pick the right powder charge on the firing card and your tolerance window for bearing error grows significantly, which is one reason new players miss more at Charge 6 than at Charge 2 even when their traverse looks identical.
Step-by-Step Rotation Process
Now that the terminology is locked, the actual rotation workflow in Iron Nest is a four-stage sequence you repeat every time the teleprinter spits out a new target. Rushing any stage throws off downstream steps, so treat the sequence like a checklist until muscle memory takes over.
Extracting Traverse and Elevation Values from the Firing Card
Once the ballistic calculator finishes crunching numbers from your plotted coordinates, it prints a firing card with a target bearing, elevation, charge number, and shell type. The bearing is the number that matters for rotation, and it is always shown relative to true north, not the turret's current facing. Mentally subtract your current bearing from the printed bearing to know whether to traverse left or right before you even touch the wheel, which saves several seconds of overshoot.
| Card Field | Purpose | Used In Stage |
|---|---|---|
| Target Bearing | Horizontal aim angle | Rotation |
| Elevation | Vertical barrel angle | Aiming |
| Charge (1–6) | Powder load | Loading |
| Shell Type | AP, HE, or gas | Loading |
| Time of Flight | Seconds to impact | Correction |
Manual Rotation Controls
Rotate by cranking the traverse handwheel left or right, watching the bearing dial tick toward the printed value. The wheel has no auto-brake, so release input slightly before you reach the target bearing and let the turret's momentum coast the rest of the way. On the Steam community forums, experienced crews report that the sweet spot is to start braking at about 2° before the printed bearing, which lands you within 0.1° on most charges.
If you are new to the controls, pair this section with our traverse and elevation guide for a deeper look at how the handwheels map to mouse and keyboard input. This principle underpins the broader crew coordination system in Iron Nest, where every second saved at a control station compounds into faster fire missions and higher scores.
Fine-Tuning Your Bearing
After the barrel settles, check the bearing dial against the firing card value. If you are off, tap the traverse wheel in 0.1° increments until the numbers match, because every tenth of a degree translates to roughly 1.7 meters of drift per kilometer of range. For long-range Charge 6 engagements, even a 0.3° misalignment can throw a shell 50 meters wide at impact, which is more than enough to miss a tank entirely.
| Misalignment | Drift at 1 km | Drift at 5 km | Typical Result |
|---|---|---|---|
| 0.1° | ~1.7 m | ~8.7 m | Near-miss splash |
| 0.3° | ~5.2 m | ~26 m | Wide miss |
| 0.5° | ~8.7 m | ~43 m | Total miss |
After the bearing matches, shift your hand to the elevation wheel and dial in the vertical value, then confirm the full gunlay on the primary sight before reaching for the firing lever. This principle underpins the broader crew coordination system in Iron Nest, where every second saved at a control station compounds into faster fire missions and higher scores.
Common Rotation Mistakes and Fixes
Even with the sequence memorized, several recurring errors catch new crews in Iron Nest, especially when targets shift rapidly between engagements between volleys. The good news is that each mistake has a clean fix you can build into your rotation routine.
Overshooting the Bearing
The most common error is rotating past the target bearing and oscillating back and forth trying to settle, which burns 3–5 seconds per shot and ruins your rhythm when multiple targets queue up. The fix is to read the printed bearing, calculate the direction of travel, and start slowing momentum 3° before the target on fast swings, 1° on fine adjustments. Heavy turrets carry rotational inertia similar to real-world artillery, so braking distance scales with how fast you cranked the wheel.
Confusing Traverse with Elevation
Because both dials live near each other on the gunner's station, new players often crank traverse when they meant elevation and end up spinning in a circle while shells fly overhead. Label your controls mentally, or rebind the mouse axes if your wheel input feels inverted. The traverse wheel should swing left-right with no vertical effect at all, and if your barrel tilts when you traverse, the binding is wrong, not the crew.
| Mistake | Symptom | Fix |
|---|---|---|
| Overshooting bearing | Oscillation near target | Brake 1–3° early |
| Confused axes | Barrel tilts during traverse | Rebind controls |
| Skipping card check | Random bearing guesses | Always read firing card first |
| Ignoring momentum | Coasts past target | Modulate input speed |
For a complete walkthrough of how bearing errors feed into a full calibration cycle, our calibration fire guide covers the spotter-to-gunner loop in detail. This principle underpins the broader crew coordination system in Iron Nest, where every second saved at a control station compounds into faster fire missions and higher scores.
Pro Rotation Strategies for Fast Targets
Once you can land a static bearing inside 0.1° on the first try, the next skill is hitting moving armor and priority targets before they slip behind ridges or relocate. A few habits separate consistent crews from ones still firing correction shots on every volley.
Pre-rotate between volleys. While the loader is ramming the next shell, you should already be swinging toward the next plotted target. The ballistic calculator handles elevation, but bearing is on you, and the few seconds you save pre-rotating determine whether you fire two or three shots in a salvo window. Track spotted units on the tactical map rather than the sight, because the map updates with new coordinates faster than you can re-aim by eye.
Learn the rough bearing of common spawn points. Most campaign missions reuse flank corridors, so memorizing a handful of standard bearings (90°, 120°, 270° for example) lets you start rotating before the firing card prints. This is also where the ability tier list matters, because certain crew perks shave seconds off traverse speed and effectively widen your firing window. Compare options in our Iron Nest ability tier list if you want to push traverse rate past the default cap.
Finally, treat the firing card as gospel for bearing and never freestyle-aim, because hand-eye bearing guesses fail past 2 km regardless of how good your screen awareness is. Combined with the right powder charge and shell type, a clean traverse routine is what turns Iron Nest from a confusing cockpit simulator into a satisfying artillery experience.
Frequently Asked Questions
What is the difference between traverse and bearing in Iron Nest?
Traverse is the physical act of rotating the turret left or right, while bearing is the numerical compass heading your barrel points toward after rotation. You perform traverse to reach a specific bearing printed on the firing card, and the bearing is what the ballistic calculator uses to compute the rest of the firing solution.
How fast can the turret rotate in Iron Nest?
Community testing on the Demo build puts default traverse at roughly 4° per second of wheel input, meaning a full 180° swing takes around 45 seconds under ideal conditions. Certain crew abilities and upgrade paths can push this rate higher, which is why high-tier crews finish a flank swing in closer to 30 seconds during timed volleys.
Do I need to rotate the turret for every shot?
Yes, every shot requires a fresh gunlay because the ballistic calculator outputs a new bearing and elevation for each target. Even when firing at the same coordinates, you should still re-confirm the bearing on the firing card, because minor wind shifts and charge selection can nudge the recommended horizontal angle by fractions of a degree.
What happens if I rotate past the target bearing?
If you overshoot the printed bearing, your shell will land off-target by a distance that scales with range, and you will need a correction shot to walk the next round onto the target. The cleanest fix is to brake earlier on the handwheel and let the turret coast the final 1–3° into
Can I automate turret rotation in Iron Nest?
No, the game does not include an auto-traverse or aim-assist feature because manual gunlay is a core part of the simulation. Players who want a faster workflow rely on pre-rotation between volleys and memorized standard bearings rather than any in-game automation, since the developers built the six-step firing loop around hands-on crew input.