
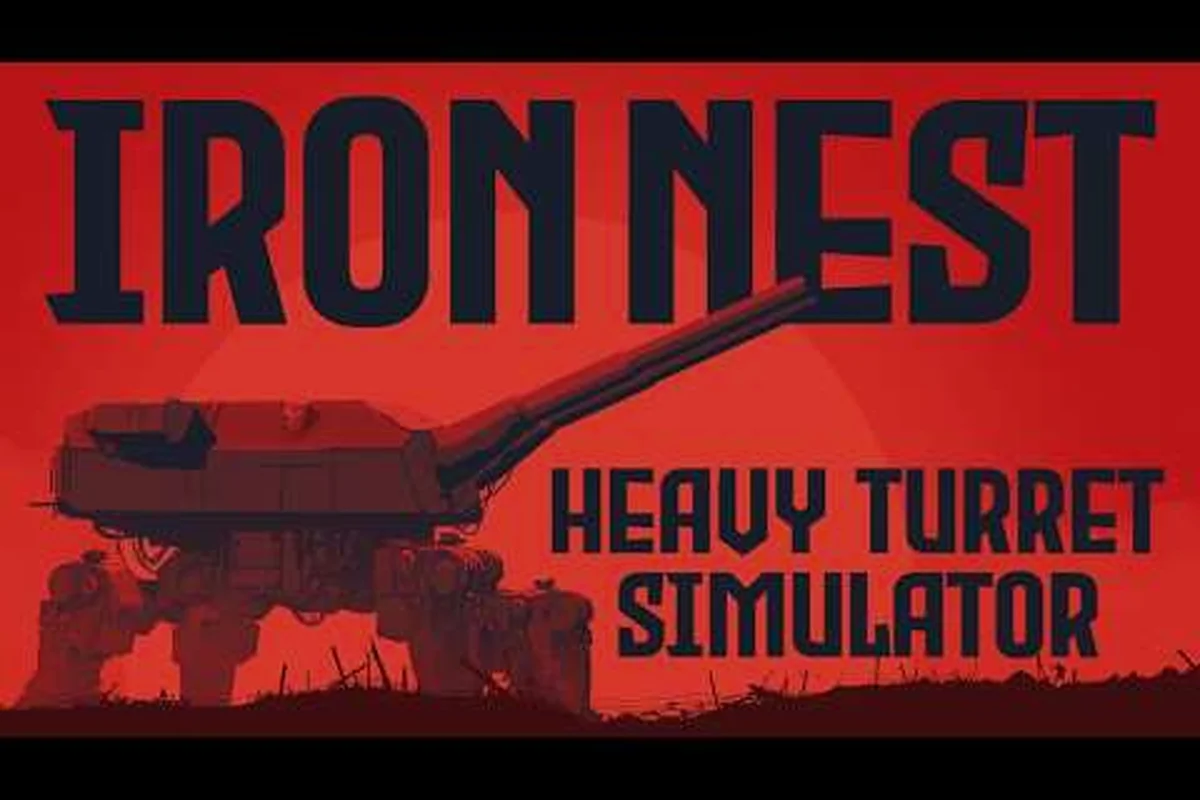
Operating a 5000-ton quadruped turret in IRON NEST: Heavy Turret Simulator comes down to two physical motions executed from the gunner's chair — rotating the entire turret horizontally and lifting the barrel upward. These motions are called traverse control (the horizontal swing) and elevation control (the vertical tilt), and together they form the aiming phase of the six-step firing cycle. Without precise coordination between the two handwheels, even a perfectly computed firing card will miss the target by hundreds of meters, wasting precious powder charges and telegraph time. This guide breaks down how each axis works in the cab, what limits you'll hit at extreme angles, and how to synchronize both motions once the ballistic calculator hands you a firing solution.
Traverse and Elevation Handwheel Precision Aiming
Every shot in IRON NEST passes through the same six-stage loop: intelligence arrives via the Teleprinter, targets get plotted on the Tactical Map, the Ballistic Calculator outputs a firing card, the loader manually rams a shell and powder charge into the breech, and finally the gunner swings the turret to the correct bearing and lifts the barrel to the correct elevation. The last two stages — swinging and lifting — are what we collectively call gun laying, and they are performed entirely through the two mechanical handwheels at the gunner's station.
-
Elevation control adjusts the barrel angle for range compensation
-
Shell selector lever positions correspond to different ammunition types
-
Loading platform sequence must follow exact breech-loading order
-
Dual barrel coordination alternates firing to maintain suppressive rate
-
Handwheel speed limits prevent overshooting target bearing marks
-
Traverse and elevation must be set simultaneously for accurate aiming
-
Loading errors occur when powder charge and shell type are mismatched
-
Setting traverse before elevation prevents the larger bearing movement from disturbing the finer vertical angle adjustment
-
The vernier scale on the elevation handwheel reads to 0.1 mils — align the closest vernier mark with the inner dial for sub-mil precision
-
Wind correction is applied as an azimuth offset after the primary bearing is set, typically ±50 mils depending on wind conditions
The game treats these axes as physically independent. You can traverse the turret without changing elevation, and you can crank the barrel up or down without rotating the base. This separation matters because the ballistic calculator hands you two numbers — a bearing in degrees and an elevation in mils — and your job is to dial each one to the correct value before pulling the firing lanyard. If the calculator is offline, you can fall back to manual aiming with reference cards, a workflow described in detail in the firing card system guide.
| Axis | Input Device | Measures | Range (approximate) |
|---|---|---|---|
| Traverse | Left handwheel (azimuth) | Horizontal bearing | 6400 mils (full circle) |
| Elevation | Right handwheel (quadrant) | Vertical barrel angle | 0–1200 mils upward |
| Gunlay | Combined input | Final bore alignment | Bearing + Elevation summed |
The traverse handwheel sits on the gunner's left and rotates the entire turret assembly on its central pedestal, because the 5000-ton quadruped design allows the upper housing to swing freely while the legs remain planted. The elevation handwheel sits on the right and cranks a worm gear that tilts the barrel within its cradle, with the maximum upward angle determined by which powder charge is loaded in the chamber. Neither motion is instantaneous — the turret's rotational inertia and the elevation gear ratio both impose realistic travel times that you must account for when an incoming message changes your firing solution mid-rotation.
How Traverse Control Works
Traverse control governs the horizontal component of turret aiming. In IRON NEST this means spinning the entire upper housing of the quadruped to align the barrel's azimuth with the bearing printed on your firing card. The mechanic is simple in concept but punishing in execution because the turret's mass creates noticeable lag between handwheel input and visible rotation, especially when you reverse direction at high speed.
Traverse Handwheel Operation
The left-side handwheel drives a geared azimuth mechanism that translates small wrist movements into large turret rotations. Turning clockwise rotates the turret to the right (increasing bearing), and turning counter-clockwise rotates left (decreasing bearing), with each detent on the wheel corresponding to a fraction of a mil. The bearing indicator strip mounted above the handwheel shows your current azimuth in mils relative to grid north, which you cross-reference against the bearing value stamped on the firing card.
Because the turret weighs roughly 5000 tons, the mechanism includes a centrifugal braking system that engages automatically when you stop cranking — you cannot simply release the wheel and expect instant stop. During a rapid traverse reversal (swinging from a southern target to a northern one), the momentum carries the housing several mils past your target before the brakes bite, so experienced gunners learn to lead the stop point by 2–4 mils depending on rotation speed. This braking behavior is the single biggest source of missed azimuths during live fire, because the ballistic calculator cannot predict how much overshoot your input will generate.
Traverse Speed and Rotation Limits
The handwheel has two speed regimes: a fine mode for precise alignment and a coarse mode activated by pushing the wheel inward before cranking, which disengages the reduction gearing. In coarse mode you can swing the full 6400-mil circle in roughly 18 seconds (community-reported timing), making it useful for large bearing changes but far too imprecise for final lay. In fine mode a full rotation takes closer to 90 seconds, but each detent corresponds to a single mil, which is the precision required for direct-fire scenarios against moving armor.
There are no hard traverse limits within the 6400-mil circle — the turret can rotate continuously in either direction without a mechanical stop, because the bearing is a true 360-degree system rather than a limited-traverse mount found on real-world tank turrets. The practical constraint is time: the longer the rotation, the more telegraph cycles you burn, and every cycle carries the risk of a new firing solution arriving before you've finished the previous lay. For most scenarios, keeping your traverse corrections under 800 mils (one-eighth of a circle) lets you complete the rotation in fine mode fast enough to fire within the same intelligence window. If you need help visualizing the rotation in three dimensions, the how to rotate turret guide covers the mouse-and-keyboard bindings in more detail.
How Elevation Control Works
Elevation control governs the vertical component of turret aiming. In IRON NEST this means cranking the right-side handwheel to tilt the barrel upward until the elevation indicator matches the mil value printed on the firing card. The elevation axis is more mechanically constrained than traverse because gravity, barrel length, and the loaded powder charge all interact to set hard upper and lower limits on what angle the breech can achieve.
Elevation Handwheel Mechanics
The right-side handwheel turns a worm gear quadrant that meshes with a curved tooth rack fixed to the barrel cradle. Each full rotation of the handwheel raises or lowers the barrel by approximately 40 mils (based on community testing), and the gearing is self-locking — meaning the barrel will not sag under its own weight when you release the wheel, even with a heavy armor-piercing round chambered. This self-locking behavior is a quality-of-life feature that lets the gunner use both hands for traverse while the elevation holds its position, which becomes important during split-axis corrections where one hand adjusts bearing while the other holds elevation steady.
The elevation indicator strip runs vertically beside the handwheel and displays mils from 0 (horizontal) to roughly 1200 mils (near-vertical), with intermediate markings every 50 mils. Unlike the bearing indicator, the elevation readout does not wrap around — once you reach 1200 mils, you must crank back down to reach lower angles, which adds dead time when transitioning from a high-angle plunging-fire scenario to a flat trajectory direct-fire shot. The elevation handwheel guide walks through the specific cranking rhythm that minimizes this transition time.
Elevation Limits by Powder Charge
The maximum achievable elevation is not a fixed number — it depends on which powder charge is currently loaded in the breech, because higher charges generate more recoil energy and the barrel cradle has mechanical stops to prevent over-elevation under full powder loads. The following table summarizes the practical elevation ceiling for each charge level, based on the in-game ballistic calculator's output ranges:
| Powder Charge | Max Elevation (mils) | Typical Use Case | Recoil Severity |
|---|---|---|---|
| Charge 1 | ~1200 | Plunging fire, indirect targets | Light |
| Charge 2 | ~1100 | Long-range indirect | Light |
| Charge 3 | ~1000 | Standard indirect | Moderate |
| Charge 4 | ~850 | Mid-range direct/indirect | Moderate |
| Charge 5 | ~700 | Direct fire, moving targets | Heavy |
| Charge 6 | ~550 | Close-range direct fire only | Severe |
If your firing card calls for an elevation above the limit for your current charge, the calculator would normally have flagged this during the solution phase — but if you're running on a pre-printed card or a manual fallback solution, you may need to swap to a lower charge before the barrel can physically reach the required angle. Conversely, attempting to fire at an elevation below zero (below horizontal) is mechanically blocked because the barrel cradle rests on its lower trunnion, so plunging-fire solutions that would technically call for a negative angle must be resolved by rotating to the opposite bearing instead.
Combining Traverse and Elevation for Accurate Shots
The real skill in IRON NEST turret aiming is not mastering either axis in isolation but coordinating both handwheels simultaneously while tracking a moving target. A typical engagement window gives you 8–12 seconds from the moment a new firing card prints to the moment the target moves out of your effective footprint, and within that window you must complete the traverse, complete the elevation, verify both readouts, and pull the lanyard.
Synchronizing Both Axes
The most efficient workflow is what experienced players call the diagonal lay — start traverse and elevation at the same time, prioritizing whichever axis has the larger correction. If your current bearing is 3200 mils and the target is 3500 mils, that's a 300-mil azimuth correction combined with a typical 400-mil elevation change; you can knock out both in roughly six seconds by cranking both wheels at moderate speed. The common mistake is finishing one axis completely before starting the other, which wastes four or five seconds of the engagement window and often causes a miss because the target has shifted by the time you finish the second axis.
| Error Type | Symptom | Correction |
|---|---|---|
| Azimuth overshoot | Round lands left/right of target | Lead the stop by 2–4 mils when reversing at high speed |
| Elevation overshoot | Round lands short or long | Reduce cranking speed in the final 50 mils |
| Axis sequencing lag | Target moves before second axis completes | Start both axes simultaneously |
| Wrong-charge firing card | Elevation maxes out before reaching target mils | Swap to lower charge and recompute |
Verification and Fire
Before pulling the lanyard, both indicators must match the firing card within ±2 mils for a hit probability worth reporting. The bearing strip and elevation strip are small and can be hard to read in low-visibility scenarios (night missions, smoke), so experienced gunners develop a habit of glancing at each readout twice — once during the lay, once at the final stop. If you find yourself consistently off in one direction, check whether the turret's zero reference has drifted; a quick re-zeroing procedure described in the elevation angle guide can recover several mils of systematic error.
After firing, both axes retain their position — the turret does not auto-recenter — so the next shot's corrections are measured from the current position rather than from a known reference. This carry-over behavior means a sequence of shots against the same target becomes progressively faster because you're only dialing in the delta between each new firing solution and your current lay.
Frequently Asked Questions
What is the difference between traverse control and elevation control in IRON NEST?
Traverse control rotates the entire turret horizontally to align the barrel's azimuth with the target bearing, while elevation control tilts the barrel vertically to match the firing card's mil value. The two axes are mechanically independent and controlled by separate handwheels on the gunner's left and right respectively.
How fast can the turret rotate in IRON NEST?
In coarse mode the full 6400-mil circle takes roughly 18 seconds, while fine mode takes about 90 seconds per full rotation. Most engagements use fine mode for precision and only switch to coarse for bearing changes exceeding 800 mils, where speed matters more than the last few mils of accuracy.
Why does my elevation stop short of the firing card value?
The maximum elevation depends on the loaded powder charge. Charges 1–2 can reach roughly 1100–1200 mils, while Charge 6 is mechanically limited to about 550 mils because the higher recoil force requires the cradle to engage its upper stop earlier. Swap to a lower charge if your firing card calls for an elevation above the current charge's ceiling.
Can I traverse and elevate at the same time?
Yes, and experienced players always do. Starting both handwheel motions simultaneously — prioritizing whichever axis has the larger correction — is the fastest way to complete a lay within the typical 8–12 second engagement window. Sequential axis completion wastes valuable seconds and often results in a miss against moving targets.
What happens if I overshoot the bearing during traverse?
The turret's centrifugal braking system engages when you stop cranking, but momentum carries the housing several mils past your target before the brakes bite. At high rotation speeds, lead your stop point by 2–4 mils so the final resting position matches the firing card.