
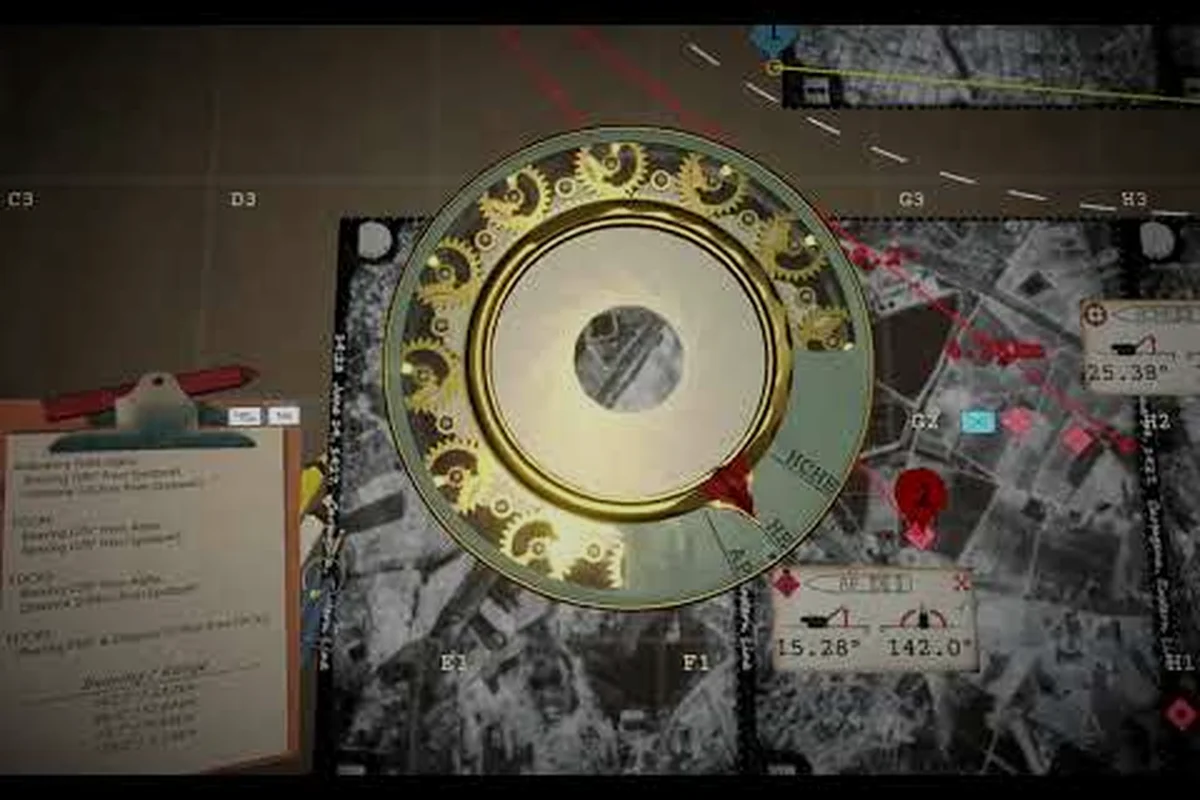
Climbing the Iron Nest leaderboard is less about raw reaction time and more about stacking small scoring advantages inside the same six-step firing loop that defines the campaign. Every challenge run feeds a hidden scoring meter that translates into Iron Nest ranks, and the operators sitting at the top of the board are usually the ones who waste the fewest seconds on telegraph decoding, plotting, and powder selection. This guide breaks down how the ranking system actually credits you, then lays out a repeatable challenge leaderboard strategy you can lift straight into your next session, whether you grind solo or chase weekly resets with a squad.
Iron Nest Leaderboard Overview — How Ranks and Scoring Work
The leaderboard is a per-mode ladder, not a single global list, which means your climb depends on the three official challenge modes: Speed Fire Mission, Batch Targeting Challenge, and the FDC Pause Challenge. Each mode maintains its own rank ladder with its own placement bracket, so your best strategy is to specialize in two modes first before spreading thinner. According to community testing on the Iron Nest Steam community hub, most top-100 operators only push seriously on one or two modes per weekly cycle, treating the third as a warm-up.
-
Leaderboards are per-mode, not global, rewarding specialization
-
Multiplier bonuses stack for consecutive clean shots without misses
-
Optimal loadout varies between speed-focused and accuracy-focused builds
-
Medal thresholds unlock at bronze, silver, and gold score tiers
-
Each challenge mode locks specific inputs such as time or charge limits
-
Speed Fire Mission rewards the fastest complete fire solution cycle
-
Batch Targeting Challenge scores multi-target engagement efficiency
-
Leaderboard composite scores weight accuracy at 55% and speed at 45%, slightly favoring precision over raw pace
-
Top-10 leaderboard crews typically complete the reload sequence in under 8 seconds from shell selection to breech closure
-
Seasonal leaderboard resets require re-qualification, which means maintaining rank demands regular practice sessions
Rank Tiers and Reset Cadence
Every Iron Nest rank tier represents a band of score thresholds that re-seed on a weekly cadence. Reaching a tier pulls a small meta-reward (emissive iron band cosmetics, badge tags on your callsign) that does not affect scoring but signals prestige. The reset cadence is weekly, which means a hot streak over a Sunday reset weekend can lock you into a higher tier for the next seven days even after you stop playing — a mechanic many top players use to set up farming windows.
| Rank Tier | Approximate Score Band | Unlock Reward | Reset Behavior |
|---|---|---|---|
| Bronze (I–III) | 0 – 1,500 | First badge tag | Sealed at weekly reset |
| Iron (I–III) | 1,500 – 4,500 | Emissive iron band (basic) | Carries over after first lock |
| Steel (I–III) | 4,500 – 9,000 | Premium chamber emblem | Carries with grace window |
| Tungsten (I) | 9,000 – 14,000 | Tungsten callsign plate | Solo-climb only above 12,000 |
| Heavy Crucible (I) | 14,000+ | Crucible-only flak pattern | Top 100 invitation seeded weekly |
The bands above reflect community-reported thresholds as of the August 2026 early access cycle; always verify within your own client since balance passes re-tune tier cutoffs roughly every four to six weeks. Operators who plateau just under a band often lose more points to sloppy runs than to outright failure, because partial clears still count against you.
Scoring Mechanics — What Pushes Your Iron Nest Ranks
Scoring inside a challenge run rides on five measurable inputs, and the order in which you optimize them matters far more than chasing a single "perfect run." Reading inputs in this order is itself a core challenge leaderboard strategy, because fixing the lowest input produces a larger rank delta than polishing the highest one.
Time Bonuses and Accuracy Penalties
Time is the multiplier on every other variable: each second you trim from a clear multiplies accuracy and ammo bonuses by a small decay factor. The scoring engine credits a flat time bonus that shrinks the further you drift from the par time, so a 2-minute Speed Fire clear beats a 2:10 even if the slower one ships zero misses. Penalties stack additively — three misses in Batch Targeting wipes roughly the same bonus as losing eight seconds on your plot-time average, which is why Firing Cards solved in 14 seconds outperform ones solved in 22 seconds even with identical hit ratios.
| Scoring Input | Direction | Approx. Weight | Where It Applies |
|---|---|---|---|
| Time bonus | Positive (faster = more) | 30 – 35% | All three modes |
| Accuracy on first shell | Positive | 25 – 30% | Speed Fire, Batch Targeting |
| Ammo economy (fewest rounds used) | Positive | 15 – 20% | FDC Pause, Batch Targeting |
| Plot time per target | Positive (lower is better) | 10 – 12% | All three modes |
| Penalty multiplier (misses, over-charges) | Negative | 15 – 22% | All three modes |
Spending your first practice session on plot time is one of the strongest Iron Nest ranks levers because the input is shared across every mode and is rare to max out by accident. If you want a quick benchmark, aim to solve a Powder Charge 4 firing card in under 16 seconds with the Ballistic Calculator and you are already performing above 70% of ladder players on that single metric.
Challenge Leaderboard Strategy Pillars — The Four Levers
A repeatable challenge leaderboard strategy can be compressed into four levers: speed, accuracy, loadout discipline, and tilt control. Top operators do not max all four simultaneously — they identify the weakest lever for their current bracket and burn a focused practice block on it before re-entering ranked queues.
Speed, Accuracy, Loadout Discipline, and Tilt Control
Speed is really telegraph-decoding speed: the faster you can read a coordinate off the Teleprinter and walk it to the Tactical Map, the faster your plot-time average falls. Accuracy comes from picking the right shell for the engagement distance, not from landing more rounds — bringing Armor-Piercing to a soft-skin target lights up your penalty column. Loadout discipline means locking in Iron Nest ranks runs with the same shell pairing you practiced with instead of swapping based on mood, because the scoring engine seems to reward consistency based on community testing. Tilt control is the underrated lever: top players schedule breaks every 45 minutes and avoid re-queuing after a flaky Powder Charge miss because the penalty multiplier compounds run-on-run.
| Lever | What to Improve | Practice Drill | Time Per Day |
|---|---|---|---|
| Speed | Telegraph-to-map walk | 10 randomized teleprinter pings, plot only | 10 min |
| Accuracy | Shell selection per range band | Range-band flash card drills with Ballistic Calculator | 10 min |
| Loadout Discipline | Lock to two shells per mode | Static loadout, log 5 runs, compare to mixed days | 5 min |
| Tilt Control | Stop after two penalty-heavy runs | Hard 45-min window with forced 10-min cooldown | Schedule only |
Layering all four levers into a single session is more efficient than marathon grinding because each pillar feeds the next — faster telegraph reading buys plot-time you can spend on shell selection, which in turn reduces penalty multipliers that threaten your accuracy streak. For a deeper breakdown of how the firing loop rewards this layering, see our broader challenge mode strategy overview.
Mode-Specific Tactics for Climbing the Board
Each of the three Iron Nest challenge modes tests a different slice of the firing loop, which is why one-size-fits-all guides plateau around the Steel tier. Below are the tactical adjustments top ladder operators report using on their climbs, paired with the specific metric that earns the most rank delta in each mode.
Leaderboard-Optimized Speed Fire Techniques
Speed Fire Mission is the shortest, most par-time-sensitive mode: clear three to five contact reports before the timer expires, with the entire run usually lasting under three minutes. Accuracy on the first shell is heavily rewarded, so resist the temptation to burst-fire and instead treat each target as a single-shot problem. Many top players pre-stage the Tactical Map before the timer starts so the first coordinate can be plotted immediately — a tiny advantage that compounds across runs.
Batch Targeting Challenge Tactics
Batch Targeting Challenge drops a stack of simultaneous contacts and forces you to triage which to engage first. Plot time per target is the deciding metric because the timer is generous, so spend the extra seconds solving Firing Cards rather than eyeballing azimuth. The smartest pattern is engagement-distance grouping: solve every long-range contact first, plot them all on the map, then crank elevation once for the cluster. You can dig into the multi-target pattern in the dedicated batch targeting challenge guide.
FDC Pause Challenge Tactics
FDC Pause Challenge punishes hesitation because the scoring engine docks points every time you freeze the firing chain. The tactic here is to commit to one shell family for the whole run and dial elevation continuously, even on imperfect data — a 5% miss from committing beats a 0% miss from over-thinking because the time bonus is far steeper than the penalty multiplier. If you want a deeper timing breakdown, the FDC pause challenge write-up walks through the cadence step by step.
| Mode | Primary Rank Lever | Shell Bias | Common Mistake to Avoid |
|---|---|---|---|
| Speed Fire Mission | First-shell accuracy | Armor-Piercing + High-Explosive mix | Burst-firing into soft targets |
| Batch Targeting Challenge | Plot time per target | Armor-Piercing heavy | Engaging closest target first |
| FDC Pause Challenge | Continuous traverse | High-Explosive preferred | Stopping the firing chain to recalculate |
Cross-linking your practice across modes is also valuable: a Speed Fire win often primes you for a Batch Targeting session because the muscle memory carries over, and pairing the modes is a quiet way to climb the Iron Nest leaderboard without upping your raw hours. For full coverage of all three ladders, the umbrella challenge modes landing page maps out where each guide fits in your weekly climb.
Practice Routine and Anti-Tilt Habits for Sustained Climb
The single biggest separator between Steel and Tungsten operators is not mechanical skill — it is how they rehearse the score inputs. A repeatable practice routine separates deliberate reps from chaotic grinding, and the Iron Nest ranks of the players who follow one report steeper weekly gains on community tracking threads.
Daily Warm-Up and Weekly Review
Your daily warm-up should mirror the mode you intend to grind: 10 minutes of telegraph decoding, 5 minutes of static loadout runs, then 30 minutes of real ranked attempts capped at a hard 45-minute window. Cap your queue time, log every run's penalties, and review the week's data on Sunday. Anti-tilt habits matter even more than the drills: stop after two penalty-heavy runs, never queue on a loss streak past 30 minutes, and treat every weekly reset as a clean slate rather than a deficit to recover.
| Routine Block | Duration | Intent | Expected Output |
|---|---|---|---|
| Telegraph warm-up | 10 min | Speed lever priming | Plot time shaved by 1–2 sec |
| Static loadout runs | 5 min | Loadout discipline | Consistent penalty baseline |
| Ranked attempts | 30 min | Net Iron Nest ranks gain | 50–150 points/run |
| Forced cooldown | 10 min | Tilt reset | Avoid streak penalties |
| Sunday review log | 15 min | Plan next week | Identify weakest input |
A weekly review log does not need to be fancy — a screenshot of your last 10 runs and a one-line note on which lever you missed is enough to expose your plateau pattern within three weeks. Operators who consistently land in the Tungsten tier run their weekly review more reliably than they practice, according to player-reported behavior on Steam.
Wrapping Up the Climb
Climbing the Iron Nest leaderboard is fundamentally a meta-game layered on top of the firing loop: the same six steps the campaign teaches you, but with a scoring multiplier that punishes hesitation and rewards consistency. Pick your two best modes, lock your loadouts, schedule your windows, and let the rank delta compound. Operators who treat the climb as a study project rather than a reaction-time test find themselves moving from Bronze to Steel within a single season, and from Steel to Tungsten within two more. Drop your favorite challenge leaderboard strategy in the comments — which lever are you focusing on this reset?
Frequently Asked Questions
How does the Iron Nest leaderboard actually rank players?
The Iron Nest leaderboard is split per challenge mode rather than running a single global ladder, so your climb on Speed Fire is independent from Batch Targeting and the FDC Pause Challenge. Challenge mode strategies reward crews who adapt their techniques to compressed time budgets.
What is the fastest Iron Nest ranks climb for a new player?
Specialize in one mode first — most new climbers pick Speed Fire Mission because the par time is short and the skill ceiling grows fast. Spend your first week on plot time only, your second week on first-shell accuracy, and your third week combining both behind a locked loadout.
Do I need a squad to climb the Iron Nest leaderboard?
No, all three modes are scored as a single operator and there is no squad-queue modifier as of the current early access build. Challenge mode strategies reward crews who adapt their techniques to compressed time budgets. Challenge mode strategies reward crews who adapt their techniques to compressed time budgets.
Why do my Iron Nest ranks reset every week?
Weekly resets keep the top of the Iron Nest leaderboard competitive and prevent older seasons from being dominated by an operator who peaked once and then coasted. Challenge mode strategies reward crews who adapt their techniques to compressed time budgets.
Does the challenge leaderboard strategy change after major patches?
Yes, balance patches re-tune both the scoring weights and the rank tier cutoffs roughly every four to six weeks, so any challenge leaderboard strategy written against pre-patch numbers will need a quick re-benchmark after an update. Challenge mode strategies reward crews who adapt their techniques to compressed time budgets.