
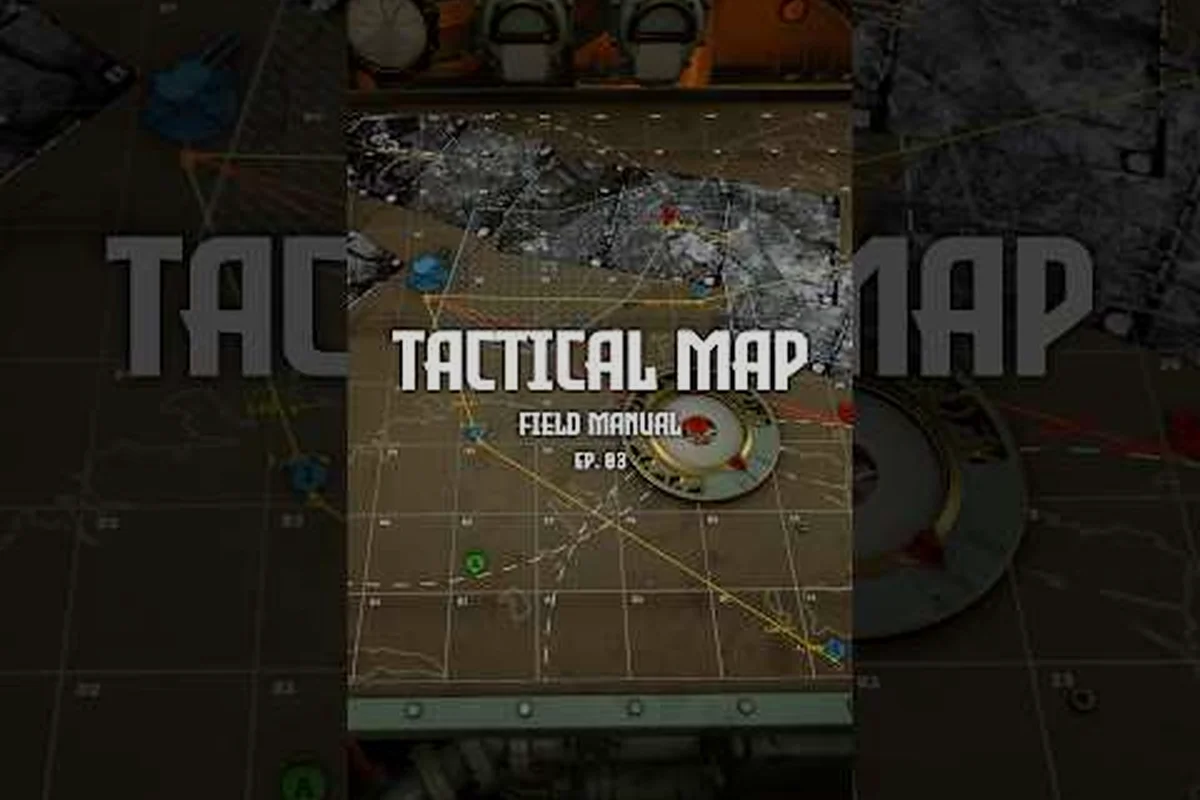
The tactical map system in Iron Nest is a core component of the artillery simulation, providing crews with the tools and mechanics they need to execute precise fire missions under varying tactical conditions. This category overview links to every dedicated tactical map article on our site and summarizes the key concepts so you can navigate the full guide collection efficiently.
Tactical Map Category Content and Navigation
The tactical map category covers the primary mechanical systems that Iron Nest players interact with during every mission. From fundamental controls to advanced techniques, each article in this category addresses a specific aspect of the tactical map subsystem with the depth that competitive and campaign players need.
-
The military grid reference system uses alphanumeric coordinates with 20 columns (A-T) and 10 rows (1-10) at standard zoom
-
Two-spotter triangulation achieves ±5 meter accuracy but requires 45-60 seconds of coordinated setup time between observers
-
The pencil tool tracks enemy positions in red, estimated positions in yellow, and friendly forces in white on the tactical map
-
The Iris trajectory preview tool projects the expected shell flight path from the turret position to the cursor for solution verification
-
Map scale measurement provides the fastest range estimate at ±250 meters precision for initial engagement calculations
| Article | Focus Area | Difficulty | Key Topics |
|---|---|---|---|
| Coordinate System | Grid notation | Beginner | Military grid, alphanumeric references |
| Range Estimation | Distance calculation | Intermediate | Map scale, triangulation, spotter reports |
| Pencil & Iris Tools | Map instruments | Beginner | Markers, trajectory preview, targeting |
| Grid Reference Guide | Precise plotting | Advanced | Sub-grid resolution, cross-bearing |
Starting Your Tactical Map Training
New operators should begin with the fundamental tactical map concepts before attempting advanced techniques. The game's tutorial introduces basic tactical map operations in Region 1, but the full depth of the system doesn't become apparent until later campaign regions where time pressure and target complexity increase substantially. Understanding the tactical map workflow — from initial setup through execution and correction — is essential for progressing beyond the early campaign.
How the Tactical Map Drives Fire Direction
The tactical map system in Iron Nest operates on several interconnected principles. First, every action at the tactical map station has a time cost that feeds into the overall mission timer. Second, the precision of each manual input (handwheel rotation, dial reading, lever position) directly affects the firing solution accuracy. Third, coordination between the tactical map operator and other crew stations — particularly the spotter and the ballistic calculator — determines whether the crew achieves first-round hits or requires multiple correction shots. Our complete guide provides the foundational workflow that connects all turret stations.
-
The military grid reference system uses alphanumeric coordinates with sub-grid precision down to 250 meters
-
Two-spotter triangulation achieves ±5 meter accuracy but requires 45-60 seconds of setup time
-
The pencil tool tracks enemy positions in red, estimated positions in yellow, and friendly forces in white
-
The Iris trajectory preview tool projects the expected shell path from the turret to the cursor position
-
Map scale measurement provides the fastest range estimate at ±250 meters precision for initial calculations
Advanced Plotting and Triangulation Methods
Experienced crews develop muscle memory for common tactical map operations, reducing the time between receiving a firing solution and executing it. The key advanced techniques include pre-positioning the handwheel during the calculator's computation phase, reading the dial vernier at sub-mil precision, and applying manual wind corrections based on observed fall-of-shot patterns rather than recalculating from scratch. These techniques each save 2-5 seconds per fire mission, which compounds dramatically across a full campaign operation.
Tactical Map Operator Performance Benchmarks
Iron Nest tracks several performance metrics related to tactical map operations, and these metrics feed into the overall crew evaluation score that determines campaign progression and unlock eligibility. Map proficiency reduces the time from spotter report to first round downrange.
| Metric | Measurement | Good Score | Expert Score |
|---|---|---|---|
| Plotting Speed | Seconds from report to mark | < 12s | < 6s |
| Coordinate Accuracy | Grid reference error margin | < 100m | < 25m |
| Range Precision | Distance estimation variance | < 10% | < 3% |
| Map Orientation | Time to true-north alignment | < 15s | < 5s |
Tactical Map Pitfalls and Correction Drills
Most tactical map errors fall into three categories: timing errors (acting too slowly or out of sequence), precision errors (misreading dials or setting incorrect values), and coordination errors (mismatching the firing card between stations). Each error type has a recognizable signature and a specific correction drill.
| Error Type | Signature | Root Cause | Correction Drill |
|---|---|---|---|
| Grid misplot | Target marked in wrong quadrant | Reversed alpha/numeric axis | Practice alpha-row-numeric-column grid mnemonic |
| Range underestimation | Consistent 15-20% short | Ignoring diagonal scale | Use ruler overlay instead of counting squares |
| Stale coordinates | Target moved since last report | Delayed firing on mobile targets | Re-confirm spotter bearing before each fire mission |
Tactical Map Article Directory
Each tactical map subsystem has its own dedicated guide covering specific controls, techniques, and tactical applications. Browse the full article list in the tactical map category sidebar, or start with the most-read guides for your experience level. Map proficiency reduces the time from spotter report to first round downrange.
The Tactical Map as a Combat Tool
Iron Nest's tactical map is far more than a navigation display — it is the crew's primary fire-direction instrument, combining grid-based coordinate plotting, pencil marking, and trajectory preview tools into a single 20×10 grid workspace. Every engagement begins at the map table, where the spotter plots enemy positions and the FDC officer generates firing solutions. Understanding the map's capabilities and limitations is the first step toward consistent first-round hits.
Tactical Map Grid Coordinate Framework and Military Grid Reference Format
The tactical map uses a military grid reference system with alphanumeric coordinates. The horizontal axis runs A through T (20 columns), and the vertical axis runs 1 through 10. Each grid square represents 500 meters at standard zoom, which means a full map covers a 10km × 5km operational area. Sub-grid precision is achieved by dividing each square into four quadrants (NW, NE, SW, SE), giving resolution down to 250 meters. The coordinate system guide and grid reference guide cover the notation format in detail.
| Grid Level | Notation | Size | Precision |
|---|---|---|---|
| Main grid | A1-T10 | 500m × 500m | ±250m |
| Sub-grid | A1-NW | 250m × 250m | ±125m |
| Refined | A1-NW-5 | 50m × 50m | ±25m |
| Triangulated | Two-spotter cross-bearing | 10m × 10m | ±5m |
Pencil and Iris Tool Integration
The pencil tool drops colored markers on the map to track enemy positions (red for confirmed, yellow for estimated, white for friendly). The Iris tool projects a trajectory preview from the turret's position to the cursor, showing where a shell will land given the current firing solution. Using both tools together — marking a target with the pencil, then overlaying the Iris trajectory to verify the solution will hit the marked position — is the most reliable way to confirm a firing card before the round leaves the barrel. The pencil and Iris tools guide demonstrates the combined workflow.
Range Estimation Techniques
Accurate range estimation is the foundation of every firing solution, and the tactical map provides three methods: direct measurement using the map scale, terrain-feature comparison using known reference distances, and two-spotter triangulation using cross-bearings from separate observation points. The map-scale method is fastest but least precise (±250m), while triangulation is slowest but most accurate (±5m). The range estimation guide explains when each method is appropriate based on the mission's time pressure and accuracy requirements.
| Method | Precision | Time Required | Best Used When |
|---|---|---|---|
| Map scale measurement | ±250m | 5-10s | Quick initial estimate |
| Terrain comparison | ±100m | 15-20s | Recognizable landmarks available |
| Single-spotter bearing | ±50m | 20-30s | Moderate time pressure |
| Two-spotter triangulation | ±5m | 45-60s | High-value stationary targets |
Map Tools and Accessories
The tactical map table includes several physical accessories that assist with plotting and measurement. The pencil set (red, yellow, white) tracks different categories of information. The compass rose at the map's top edge provides true north alignment. The scale bar along the bottom edge converts grid measurements to real-world distances. The map tools guide catalogs every accessory and its proper use technique.
Map Reading Workflow for New Crews
New Iron Nest operators should develop a consistent map-reading workflow that begins with orienting the map (true north alignment), proceeds to identifying friendly and enemy positions from the briefing, and finishes with marking potential firing positions and cover points. This workflow takes approximately 30 seconds for experienced crews but can consume 2-3 minutes for beginners, which is why the tutorial in Region 1 emphasizes map orientation before any other skill. The tactical map overview walks through the complete workflow step by step.
Coordinate Reporting Standards
Iron Nest uses a standardized coordinate reporting format that every crew member must understand. The format follows the military grid reference system: "Grid Alpha-Seven-Northwest" translates to position A7-NW on the tactical map, which represents a 250m × 250m area. When the spotter reports a target at "Grid Delta-Twelve-Southeast, estimated range three thousand eight hundred meters," the FDC officer knows exactly where to plot the target on the map and what range to enter into the calculator. The coordinate system guide provides the complete reporting standard with examples for every grid level.
Tactical Map Category FAQ
What is the most important tactical map concept for new players?
The foundational concept is understanding that every tactical map action connects to a downstream effect on the firing solution. A small error at this station compounds through the ballistic calculator and the loading platform into a missed target, which is why precision always takes priority over speed for new crews learning the system.
How do tactical map skills transfer to challenge modes?
Challenge modes compress the time budget and increase target density, which means the tactical map skills you develop in the campaign — particularly response time and dial precision — become even more critical. Crews who can execute tactical map operations from muscle memory rather than conscious thought perform significantly better on leaderboards.
Should I practice tactical map operations in solo or multiplayer?
Both modes teach different skills. Solo mode builds individual muscle memory and dial-reading precision, while multiplayer mode develops the inter-station coordination and verbal communication protocols that are essential for competitive play. Ideally, crews should alternate between both modes during their training rotation.
Where can I find the complete list of tactical map articles?
The tactical map category sidebar shown alongside this article lists every dedicated guide in the collection. Each article focuses on a specific subsystem or technique, and together they provide comprehensive coverage of all tactical map operations in Iron Nest's artillery simulation.
Does the tactical map system change between campaign regions?
The underlying tactical map mechanics remain consistent across all fifteen campaign regions, but the time pressure, target complexity, and environmental conditions (wind, visibility, terrain elevation) increase progressively. The same skills apply everywhere, but the margin for error shrinks as you advance through the campaign.