
Ammo Types
All ammo types in Iron Nest explained — AP, HE, HCHE, smoke, star, phosgene, tear gas, pyro shells, and powder charges. Damage, blast radius, and best use strategies
Introduction
Ammo types in Iron Nest span 30 unlockable shell varieties across nine major categories, from AP bunker-busters and HE general-purpose rounds to phosgene gas and illumination flares. Each shell has unique blast radius, penetration values, powder charge compatibility, and moral implications that affect story outcomes through the newspaper consequence system. Selecting the right ammunition for each target type is the difference between a clean kill and wasted ordnance during critical fire missions. Understanding powder charges, their effect on range bands, and the cost-benefit trade-offs of premium versus standard shells is equally critical for both mission efficiency and challenge mode scoring performance optimization.
Ammo Type Quick Reference
| Shell | Abbreviation | Tier | Blast Radius | Best Target | Cost |
|---|---|---|---|---|---|
| S High-Explosive | HE | Most versatile | 15m | Soft targets, infantry | Standard |
| A Armor-Piercing | AP | Essential for bunkers | 5m | Hardened structures | Standard |
| A High-Capacity HE | HCHE | Cluster killer | 30m | Grouped enemies | Premium |
| B Illumination | STAR | Recon essential | 20m (no dmg) | Night observation | Low |
| C Smoke | SMK | Screening tool | 40m (no dmg) | Sightline denial | Low |
| B Phosgene Gas | PGAS | Area denial | 25m | Entrenched infantry | High |
| C Tear Gas | TGAS | Non-lethal | 15m | Crowd dispersal | Low |
| A Incendiary | PYRO | Structure burner | 15m | Wooden fortifications | Standard |
| C Training Round | EMPT | Practice only | None | Calibration | Free |
Shell Roster
HE — High-Explosive
General-purpose workhorse — most versatile shell in the turret
AP — Armor-Piercing
Bunker-busting penetrator — irreplaceable against hardened targets
HCHE — High-Capacity HE
Cluster-killer — maximum blast for grouped enemy formations
Smoke — Screening
Area-denial smoke screen — blocks line of sight for 15 seconds per charge
Star Shell — Illumination
Overhead flare — reveals enemy positions and lifts fog of war
Phosgene — Chemical
Lethal chemical agent — persistent area-denial with moral consequences
Tear Gas — Riot Control
Non-lethal chemical — forces enemy evacuation without kills
Incendiary — Burning
Sustained fire damage — destroys wooden structures and foliage
Shrapnel — Anti-Personnel
Airburst fragmentation — devastates exposed infantry formations
Core Mechanics
Iron Nest ammunition operates on a tiered system where each shell type serves a distinct tactical purpose. The 6-step firing loop requires selecting the correct shell at step 4 — the shell selector dial switches between chambers. High Explosive (HE, S-tier) delivers maximum blast radius for area suppression and bunker busting. Armor Piercing (AP, A-tier) concentrates force on hardened targets with minimal splash damage. High-Capacity HE (HCHE, A-tier) balances blast radius with payload weight for sustained bombardment. Smoke (SMK, C-tier) creates visual screens for repositioning. Star shells (STAR, B-tier) illuminate sectors for night operations. Phosgene Gas (PGAS, B-tier) and Tear Gas (TGAS, C-tier) are chemical shells that trigger the moral-choice system and newspaper consequences. Incendiary (PYRO, A-tier) sets structures ablaze with persistent fire damage. Empty/Training rounds (EMPT, C-tier) are for zero-risk practice. Each shell has a specific cost in resources, blast radius, and best target profile that determines when deployment is tactically optimal.
Advantages
The ammunition system in Iron Nest offers remarkable tactical versatility, with nine distinct shell types covering every operational scenario from bunker destruction to crowd control. HE shells (S-tier) provide the largest blast radius for area suppression, while AP shells (A-tier) penetrate hardened targets with minimal collateral damage — the dual availability means operators can always match shell to situation. The chemical shell variants add a strategic layer beyond pure combat: phosgene gas and tear gas can suppress areas without physical destruction, useful for story missions where minimizing structural damage affects newspaper outcomes. Incendiary shells create persistent fire zones that deny areas to enemy movement. The tiered system makes progression intuitive — early missions only require HE and AP, while advanced challenges introduce the full arsenal. Each shell type has clear best-use scenarios documented in the ballistic tables, removing guesswork from shell selection.
Challenges
The primary weakness of the ammunition system is its resource management complexity — operators must track shell counts, powder charges, and cost per shot across nine shell types, each with different replenishment rates. Chemical shells carry the additional burden of the moral-choice system: firing phosgene or tear gas triggers newspaper consequences that can close off story paths and alter faction reputation. The tier system, while clear, can create a false hierarchy where operators default to S-tier HE shells for every situation, missing the tactical advantages of specialized rounds. Low-tier shells like smoke and training rounds feel underpowered relative to their resource cost, making them feel like wastes of ammunition rather than tactical tools with specific niches. The AP shell's narrow blast radius punishes operators who select it for area targets, and the star shell's illumination-only effect has no combat application in standard missions.
Frequently Asked Questions
Which shell should I use most often?+
What happens if I use the wrong ammo type?+
Do chemical shells have gameplay consequences?+
Quick Tips
Always match your shell type to the target: HE for area targets and bunkers, AP for hardened point targets, HCHE for sustained bombardment, and smoke only when you need visual screening for repositioning. Loading the wrong shell wastes ammunition and reduces your ammo efficiency score in challenge modes. This practice becomes increasingly important during extended sessions where fatigue and repetition can lead to complacency and costly mistakes.
Chemical shells (phosgene and tear gas) trigger the moral-choice system and generate newspaper consequences. Use them only when the mission specifically requires chemical effects or when you are intentionally pursuing a specific faction story path. Casual use of chemical shells can lock you out of humanitarian endings. This practice becomes increasingly important during extended sessions where fatigue and repetition can lead to complacency and costly mistakes.
Training rounds (EMPT) cost nothing and deal no damage, making them ideal for practicing the complete loading and firing sequence without wasting combat resources. Use empty shells to rehearse the 6-step loop until it feels automatic before switching to live ammunition for actual missions. This practice becomes increasingly important during extended sessions where fatigue and repetition can lead to complacency and costly mistakes.
Featured
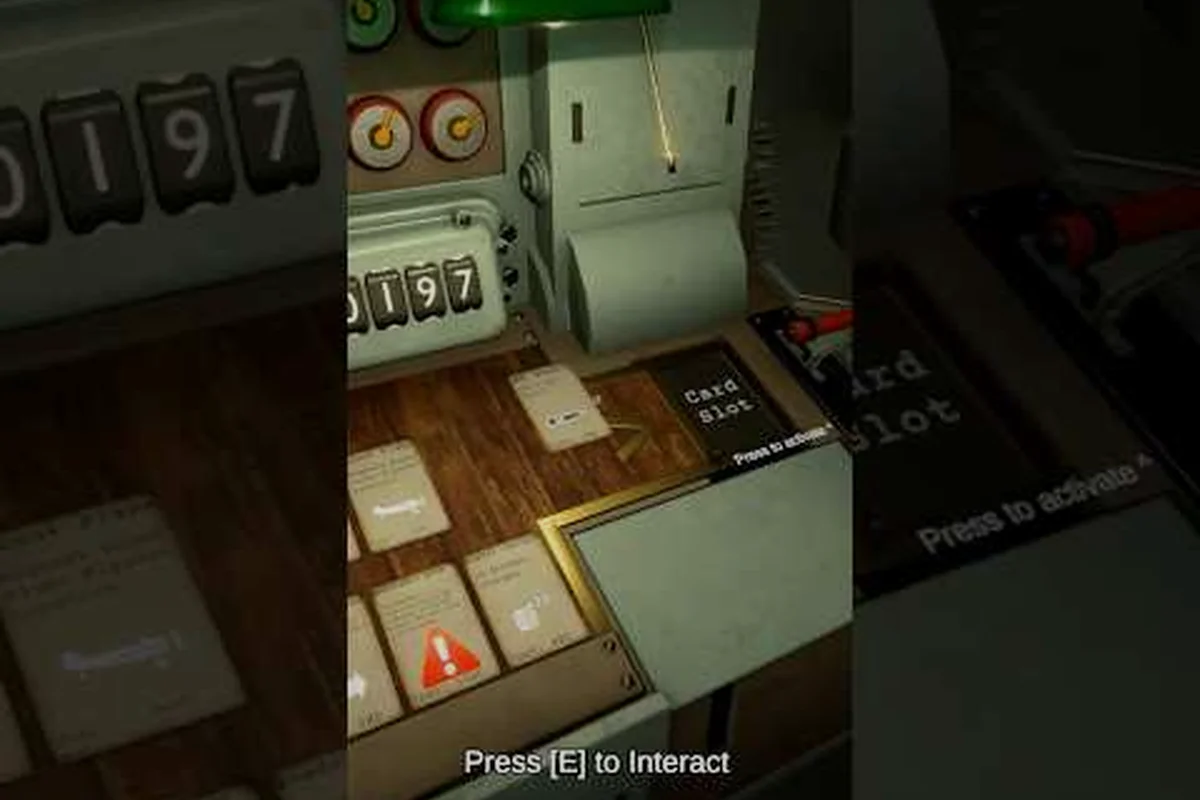
Iron Nest Ammo Types: Complete Shell and Round Guide
Comprehensive guide to all ammo types in Iron Nest, including armor-piercing, high-explosive, smoke, illumination, and special-purpose shells.
Iron Nest HCHE Ammo Guide: Stats, Cost & Best Uses
Master Iron Nest HCHE ammo with this complete guide covering blast radius, overpressure damage, cost vs HE and AP shells, and best tactical scenarios for grouped targets.
IRON NEST: Heavy Turret Simulator Illumination Shell Guide
Master the Iron Nest illumination shell for night recon and target spotting. Learn how this star shell lights up dark missions without dealing damage.
All Articles
Iron Nest Ammo Types Guide: Best Shells for Every Target
Master every Iron Nest ammo type from AP to HE and beyond. Learn damage profiles, blast radii, and the best targets for each shell in this complete guide.
Iron Nest Smoke Shell: Deployment Timing & Tactical Use
Master the Iron Nest smoke shell: deployment timing, sightline denial mechanics, friendly movement masking, and how it compares vs AP/HE ammo rounds.
Iron Nest Star Shell: Night Recon & Correction Guide
Master the Iron Nest star shell for night observation, target correction, and Fire and Light missions. Compare with AP/HE ammo and learn deployment tactics.