
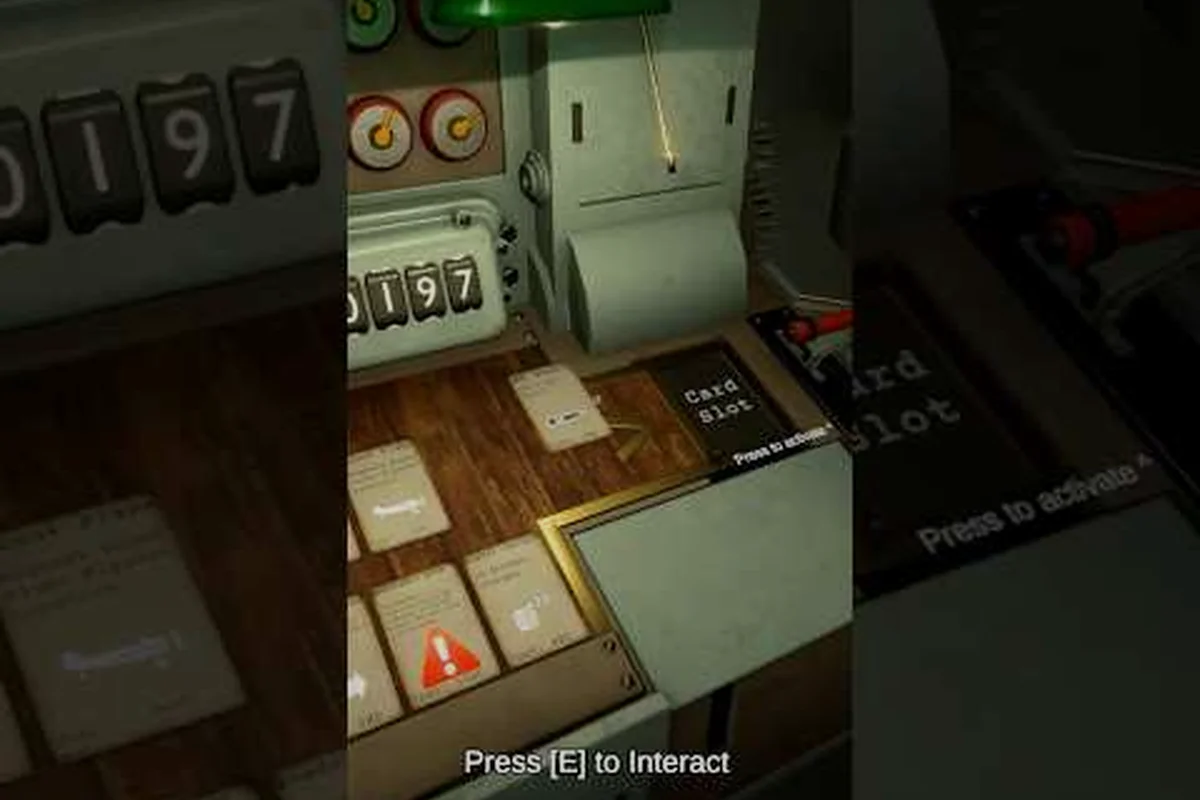
The Iron Nest smoke shell is the most under-loaded round in any turret's ready rack, and most new gun crews skip past it because concealment looks weaker on paper than raw penetration. That perception flips the moment a single SMK cloud blanks an enemy spotters' nest for thirty seconds while your infantry crosses an open draw. Inside Iron Nest: Heavy Turret Simulator, smoke occupies a unique niche because every other shell type — the armor-piercing Iron Nest AP ammo, the high-explosive Iron Nest HE ammo, and even the illumination variants — produces a visible point of impact, while smoke produces a moving curtain that denies information. This article breaks down the deployment envelope, the burn duration, and the exact mission types where the Iron Nest smoke shell outperforms every alternative.
Smoke Shell Screen Deployment and Tactical Concealment Mechanics
Every shell fired from your heavy turret resolves into one of several coded outcomes: a kinetic hit on a hard target, an explosive blast on a soft target, an illuminating flare, or a concealment cloud. The Iron Nest smoke shell belongs to the last category, and it is the only round in the standard ammo family whose primary effect is information denial rather than target destruction. When the round reaches the top of its ballistic arc, it bursts at altitude and deploys a payload of canisters that drift downward while releasing a dense, off-white screening agent. According to the Iron Nest ammunition wiki entry, the SMK variant is described as having the maximum radius deployment of any shell family, with situational use outside specific mission types because most objectives still require actual destruction rather than visual obstruction.
-
AP rounds penetrate armor but deal minimal splash damage
-
HE shells create blast radius effects ideal for infantry clusters
-
Smoke rounds deploy concealment screens lasting several in-game minutes
-
Star and illumination flares reveal night targets for spotting
-
Chemical shells create lingering area-denial zones on the tactical map
-
HCHE ammo specializes in clustered enemy formations with wider blast
-
Shell cost and availability vary by campaign mission and quartermaster
-
WP smoke at charge 2 produces the densest ground-level concealment cloud for close-range screening
-
Smoke shell effectiveness degrades in high wind conditions above 15 m/s, scattering the particulate cloud
-
Deploying smoke before a repositioning maneuver provides a 45-second window for the turret to traverse to a new bearing
The smoke agent does no damage, scores no kills, and will not detonate ammunition dumps. What it does is deny line of sight across a wide swath of terrain for a fixed duration, which is the entire purpose of the round in real artillery doctrine and the entire reason the developers ported it into the game. A gun crew that learns to read the smoke envelope will find mission types where SMK outperforms even a perfectly placed HE shot, because a target you cannot see cannot shoot back effectively. New players who want a broader survey of every shell family should read our Iron Nest ammo types overview, which lays out the full ready-rack options before diving into the smoke-specific mechanics covered below.
| Effect Category | Iron Nest Smoke Shell | Typical Alternative |
|---|---|---|
| Primary outcome | Concealment cloud | Target destruction |
| Damage to personnel | None | High (HE) / Moderate (AP) |
| Damage to vehicles | None | High (AP) / Moderate (HE) |
| Line-of-sight denial | Wide radius, timed burn | None |
| Friendly-fire risk on advance | Masks movement | Blocks movement |
| Best mission category | Screening, masking, diversion | Direct engagement |
Smoke Shell Mechanics, Burn Time, and Deployment Envelope
Deployment Radius and Burn Duration
The Iron Nest smoke shell pops at the apex of its trajectory and seeds a rectangular footprint of screening agent that drifts slowly with the prevailing wind before settling. The base deployment radius is the largest of any shell in the game, which is the headline statistic most players cite when they recommend keeping a couple loaded. Burn duration scales with the powder charge selected on the calculator: lower charges that land closer to friendly positions produce shorter, denser clouds, while higher charges that arc deeper into enemy territory extend the burn window because the canisters have more time to disperse during descent. Players report that a well-placed charge-4 or charge-5 smoke landing on a reverse slope will screen a valley crossing for roughly twenty-five to thirty seconds, which is enough time to move a squad across open ground if the timing is set up in advance.
The shell must be loaded through the regular loading sequence, which means your gun crew cannot fire HE at a target and then immediately switch to smoke without running the loading animation. This is where newer crews lose their smoke window: they fire HE, the target ducks behind cover, and by the time a smoke round is chambered the infantry have already started their crossing. Pre-loading one or two SMK rounds during the briefing phase, or right after you finish a sustained HE barrage, is the single biggest tactical improvement a player can make with this round, because the moment you need concealment is rarely the moment you have time to load it.
Sightline Denial and Wind Drift
The screening agent is not a perfect wall; it is a cloud that respects the wind direction printed on your tactical map. A smoke round fired into a headwind will screen less area, while a smoke round fired with a quartering tailwind will spread the curtain further downrange and may even seed additional coverage on terrain you were not aiming at. Experienced crews read the wind indicator on the map table before they lay the gun, because firing smoke into a crosswind wastes roughly a third of the cloud's effective width. The smoke also settles in low spots faster than on ridgelines, so a round aimed at the base of a hill produces a denser, longer-lasting screen than a round aimed at the crest, which drifts apart before it can settle.
This is the mechanic that separates a casual SMK user from a useful one. The round is not "fire and forget" — it requires the same ballistic discipline as every other shell in the rack, and the Iron Nest shell tier list ranks it lower than AP and HE on raw versatility precisely because it needs setup. Treat the smoke round the same way you treat the ballistic calculator's powder charge input: a tool that only works when you have set it up correctly in advance.
| Setup Step | Action Required | Common Mistake |
|---|---|---|
| Read wind on map table | Note direction and approximate strength | Firing in a crosswind without adjustment |
| Select powder charge | Lower for close screens, higher for deep ones | Always using maximum charge |
| Pre-load SMK round | Chamber before the screen window opens | Loading after the crossing starts |
| Aim at low terrain | Aim below ridgelines to extend burn | Aiming at crests where smoke drifts |
| Lay the gun | Set elevation and bearing on the calculator | Skipping the firing card step |
How Smoke Compares to AP and HE Ammo
When Smoke Beats AP and HE on the Target
The decision between loading another Iron Nest AP ammo round, another Iron Nest HE ammo round, or an SMK round is not a question of which round is "best" — every shell has a mission it owns. AP owns hard targets: bunkers, armored vehicles, and concrete emplacements where penetration is the only thing that matters. HE owns soft targets: troop concentrations, light vehicles, and ammunition stockpiles where blast and fragmentation do the work. Smoke owns a third category that neither round can touch: the moment when the enemy can see you and you cannot afford to be seen, and your friendly forces need a corridor of concealment to move through.
The clearest example is an advance across a valley that is observed by an enemy pillbox on the far ridge. A direct HE barrage might suppress the pillbox for a few seconds, but the moment it lifts the observer is back on the guns calling corrections. A well-timed smoke round, by contrast, blanks the observer's optics for the full duration of the crossing, which is more useful than suppressing a target you cannot kill. New players who want a deeper dive into the illumination counterpart should check the Iron Nest star shell guide, which solves the opposite problem — denying concealment to enemies hiding in shadow rather than granting concealment to friendlies on the move.
Trade-offs and Limits of the Smoke Round
The smoke round has three hard limits that no amount of practice will overcome. First, it produces no kill credit and no damage, so missions scored on target destruction will not credit you for screening. Second, the round reveals your firing position indirectly, because the enemy knows roughly where the smoke came from based on drift patterns, and a clever observer will use the smoke itself as a marker for counter-battery fire. Third, smoke cannot be fired through your own concealment — if you are already screened, adding more smoke does nothing, and you have wasted a round that could have been HE or AP. Crews that ignore these limits end up burning through their SMK stockpile on missions where AP or HE would have done more work, which is why our Iron Nest shell tier list consistently places SMK below the direct-fire rounds on raw value.
| Stat | Iron Nest Smoke Shell | Iron Nest AP Ammo | Iron Nest HE Ammo |
|---|---|---|---|
| Primary role | Concealment / screening | Hard-target penetration | Soft-target destruction |
| Damage vs infantry | 0 | Low | High |
| Damage vs armor | 0 | High | Moderate |
| Damage vs structures | 0 | High | Moderate |
| Line-of-sight denial | Strong (wide radius) | None | None |
| Effective burn / fuse time | ~25–30 seconds | Instant | Instant (airburst adjustable) |
| Best mission type | Valley crossings, diversions | Bunkers, vehicles | Troops, light cover |
| Counter-battery risk | High (smoke reveals origin) | Moderate | Moderate |
Tactical Scenarios Where the Smoke Round Wins
Masking a Friendly Infantry Advance
The textbook use case for the Iron Nest smoke shell is screening an infantry platoon that needs to cross open terrain under direct enemy observation. The sequence is straightforward: identify the observation post on the map table, read the wind direction, lay the gun for a charge that lands the cloud between the OP and the crossing route, fire one or two SMK rounds to seed a wide curtain, and call the advance while the screen is still active. Because the round has the maximum deployment radius of any shell in the game, a single well-placed shot can mask a crossing that would otherwise take heavy casualties, which makes the round disproportionately valuable on missions where infantry survivability is the scoring metric.
Blocking Enemy Observation Posts and Diversions
A subtler use is the tactical diversion, where you fire smoke at a location that is not actually your assault axis in order to draw enemy attention and counter-battery fire away from your real plan. Because smoke is loud, visible, and unmistakable, an enemy observer who sees a cloud bloom on their map will assume that an advance is starting in that sector and will redirect their defensive fire accordingly. A pair of Iron Nest smoke shell rounds fired at a dummy location can pull enemy attention for the full burn duration, during which your real force maneuvers on a different axis unmolested. This is the highest-skill use of the round because it requires you to think like an enemy commander, but it is also the use that wins the most difficult missions in the game.
| Scenario | Recommended Shell | Why |
|---|---|---|
| Valley crossing under OP fire | Iron Nest smoke shell | Masks the entire crossing |
| Bunker assault on hard target | Iron Nest AP ammo | Only AP penetrates |
| Troop concentration in the open | Iron Nest HE ammo | HE fragments the cluster |
| Diversion to mask real axis | Iron Nest smoke shell | Pulls attention, no waste |
| Nighttime concealment denial (enemy) | Iron Nest star shell | Illuminates their hiding spots |
| Armor column at long range | Iron Nest AP ammo | AP penetrates at all charges |
Frequently Asked Questions
When should I load the Iron Nest smoke shell instead of HE or AP?
Load SMK when concealment matters more than destruction: infantry crossings under observation, diversions to mask your real axis, or missions where the scoring metric is friendly survivability rather than enemy kills. If the objective is to destroy a hard target, load Iron Nest AP ammo; if it is to blast a soft cluster, load Iron Nest HE ammo.
Does the Iron Nest smoke shell do any damage to enemy units?
No. The SMK round produces zero direct damage and zero fragmentation. Its sole effect is the screening cloud, which denies line of sight to observers inside the footprint but does not harm personnel or equipment. Treat it as a pure utility round, not a weapon.
How long does a smoke cloud last after deployment?
Burn time varies with the powder charge selected on the ballistic calculator, but community testing places the effective screen at roughly twenty-five to thirty seconds for a mid-range charge-4 or charge-5 lay. Lower charges produce shorter, denser screens closer to your position, while higher charges extend the burn window because the canisters spend more time dispersing during descent.
Can wind ruin my smoke screen?
Yes. The screening agent drifts with the prevailing wind, and a strong crosswind can shrink the effective screen by roughly a third if you do not compensate. Always read the wind indicator on the tactical map table before laying the gun, and aim slightly upwind of your true target so the cloud settles where you actually want it.
Is the Iron Nest smoke shell worth keeping loaded for every mission?
Not for every mission. The round only earns its slot on scenarios with observation posts, open crossings, or diversion opportunities. Shell selection shapes every engagement's outcome in the firing cycle. This is essential for planning effective engagements in Iron Nest.