
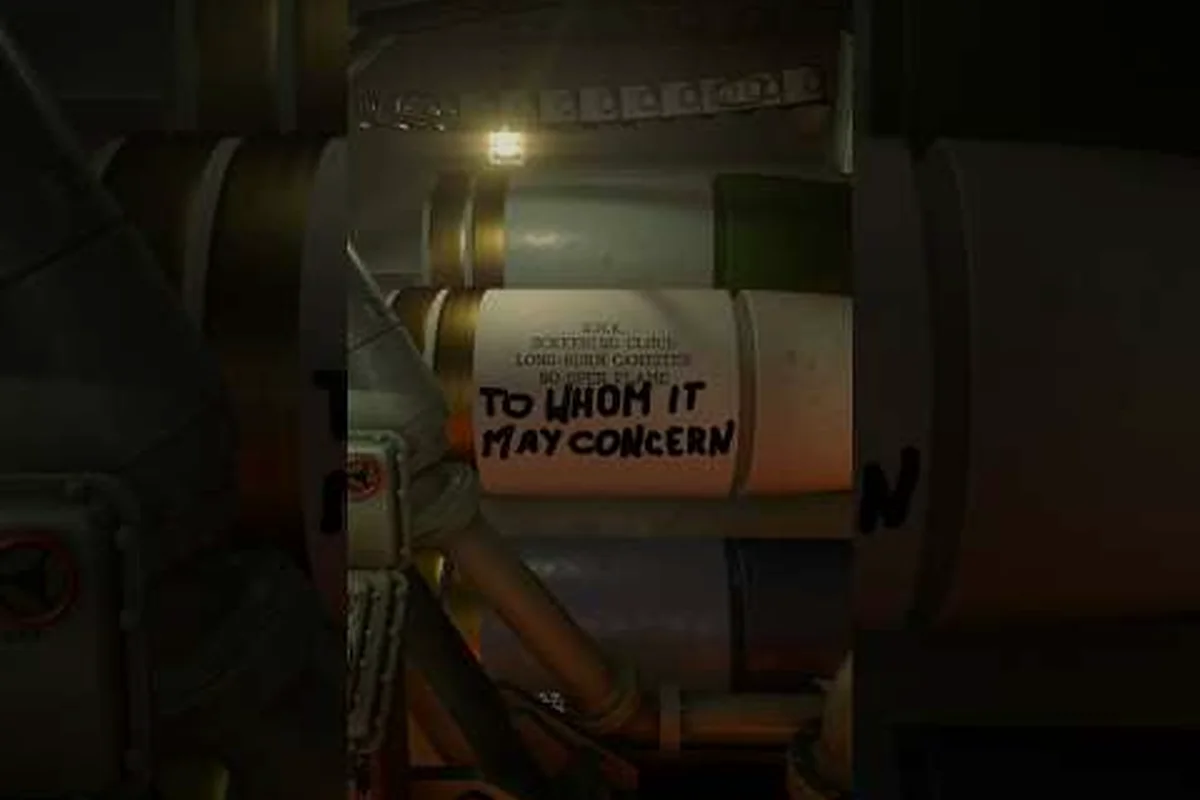
Iron Nest HCHE ammo sits at the top of the explosive shell family in the Heavy Turret Simulator, and knowing exactly when this premium round pays for itself separates competent gunners from those who burn through credits in the first ten minutes of a sortie. The HCHE shell — short for High-Capacity High-Explosive — throws a wider blast radius than the standard HE round, layers an overpressure effect onto grouped targets, and carries a price tag that demands deliberate trigger discipline. Because the ballistic calculator on your gunner's desk cannot decide economic trade-offs for you, this guide breaks down the numbers, the firing card readings, and the field conditions where HCHE shells outperform their cheaper cousins.
What HCHE Ammo Does in Iron Nest
The HCHE round in Iron Nest belongs to the same explosive family as the standard HE shell, but it has been engineered for one specific job: punishing clustered enemy formations. When your firing card tells you that three or more soft targets are sitting inside a tight radius — typically within a single grid square on the tactical map — the HCHE shell's wider blast footprint makes it the highest expected-damage-per-credit option you have on the loading tray.
-
AP rounds penetrate armor but deal minimal splash damage
-
HE shells create blast radius effects ideal for infantry clusters
-
Smoke rounds deploy concealment screens lasting several in-game minutes
-
Star and illumination flares reveal night targets for spotting
-
Chemical shells create lingering area-denial zones on the tactical map
-
HCHE ammo specializes in clustered enemy formations with wider blast
-
Shell cost and availability vary by campaign mission and quartermaster
-
HCHE rounds combine AP-class penetration with HE-class blast radius at the cost of doubled requisition expense
-
The HCHE drag coefficient is higher than standard HE, requiring slightly more elevation at the same range
-
HCHE at charge 5 delivers its maximum combined penetration and blast performance against dual-armor targets
Unlike the standard Iron Nest HE ammo, which delivers a tighter burst optimized for single fortified pillboxes or lone armor contacts, the HCHE shell sacrifices focal-point penetration in exchange for a wider kill cone. The trade is justified whenever targets overlap on the ranging table, because a single HCHE round can score multiple confirmed kills whereas two separate HE rounds would each confirm only one. That is the entire economic argument behind the higher per-shell cost.
| Shell Type | Best Target Profile | Typical Engagement Range |
|---|---|---|
| Iron Nest AP ammo | Single hardened target, armored column | Long range, narrow dispersion |
| Iron Nest HE ammo | Single soft target, fortified bunker | Mid range, moderate splash |
| Iron Nest HCHE ammo | 3+ grouped soft targets, troop clusters | Mid-to-close range, wide splash |
Because Iron Nest HCHE ammo is built for grouped soft targets, it is rarely the right answer against a lone Panther tank rolling alone across the open plain. Against a single hardened contact, the wider blast cone means a smaller percentage of the explosive payload actually lands on the armor plate — you waste energy on air. The Iron Nest AP ammo round concentrates that energy into a narrow penetrator jet and is the correct pick for any solo armor engagement, which is why you should never substitute HCHE into an AP firing slot and expect the same performance.
HCHE Mechanics and Damage Profile
Blast Radius and Overpressure
The headline stat for Iron Nest HCHE ammo is the blast radius, which the in-game firing card displays as a numerical value next to the splash icon. This number represents the diameter, in meters, of the lethal zone where unarmored targets will be incapacitated by the explosion. Community testing places the HCHE blast radius roughly 30–40% wider than the standard HE round at equivalent powder charges, which is the single biggest reason why grouped contacts die faster to HCHE even though each individual target receives less direct explosive energy than it would from a focused HE strike.
Layered on top of the base blast is the overpressure effect, a secondary damage tick that applies to any soft target caught inside the wider, lower-intensity outer ring of the detonation. Targets in the outer ring do not receive a one-shot kill, but they take continuous damage for several seconds — enough to finish off infantry, light trucks, and half-tracks that survived the initial blast at the edge of your cone. When a formation of soft targets is tightly bunched, the outer ring often catches the rear elements while the front elements die instantly from the main blast, which is why a single HCHE round can produce a cascade of confirmed kills that two or three HE rounds would struggle to replicate.
Powder Charge Pairings
The ballistic calculator in the game assigns powder charges numbered 1 through 6, and Iron Nest HCHE ammo scales with the same charge system as every other shell in your magazine. Charge 1 is the lowest muzzle velocity and produces the shortest range; Charge 6 is the highest and pushes the round out to maximum engagement distance. Because HCHE shells lose some velocity to their heavier explosive filler, experienced gunners typically pair HCHE with one charge step higher than they would for a standard HE shell to land the same elevation solution on the ranging table.
| Powder Charge | Typical Use Case | HCHE Performance Note |
|---|---|---|
| Charge 1 | Close-range point defense | Rarely used; HE is cheaper here |
| Charge 2–3 | Mid-range troop concentrations | Sweet spot for HCHE |
| Charge 4 | Extended engagement on clusters | Viable if elevation is dialed correctly |
| Charge 5–6 | Long-range grouped contacts | Use sparingly due to cost |
If you are new to the firing card workflow, the Iron Nest ammo types overview walks through how to read the elevation and bearing values the calculator outputs for each charge step. Pairing HCHE with a charge step you have not yet practiced on HE is a common rookie error, because the round arrives at a different angle than the firing card predicts when you skip the intermediate steps.
Comparing HCHE, HE, and AP Ammo
Damage per Credit
The economic backbone of any turret sortie in the game is damage per credit spent, and the three main shell types occupy very different positions on that curve. The Iron Nest AP ammo round costs the least to manufacture but only deals damage to whatever it directly strikes; if your target moves or you miss, that credit is gone. The standard Iron Nest HE ammo sits in the middle, with moderate splash that handles single soft targets efficiently. The Iron Nest HCHE ammo round sits at the top of the price ladder but delivers the highest expected kills-per-credit whenever grouped targets are present, which is the condition the shell was designed for in the first place.
| Metric | Iron Nest AP ammo | Iron Nest HE ammo | Iron Nest HCHE ammo |
|---|---|---|---|
| Per-shell cost | Low | Medium | High |
| Single-target damage | Highest | Medium | Medium |
| Blast radius | Negligible | Moderate | Widest |
| Overpressure effect | None | Light | Heavy |
| Best target count | 1 | 1–2 | 3+ |
| Armor penetration | Yes | Limited | Limited |
When AP Beats HCHE
The decision tree gets sharper when you factor in target hardness. Against a single Panzer or a fortified bunker, Iron Nest AP ammo outperforms HCHE on every meaningful axis: it penetrates the armor, it costs less, and it does not waste explosive filler on the surrounding empty terrain. Against a mixed formation of one armor contact flanked by three infantry squads, the calculus changes — the AP round kills the armor but ignores the infantry, while the HCHE round ignores the armor but wipes the infantry in a single overpressure sweep.
For a deeper look at how each shell ranks against the rest of the magazine, the Iron Nest ammo tier list organizes every round by target scenario and economic efficiency. That ranking reinforces what the firing card already implies: HCHE is a specialist tool, not a default loader.
Tactical Scenarios Where HCHE Shines
Defending Against Wave Attacks
The most reliable HCHE scenario is the wave attack, where the enemy sends a cluster of soft vehicles and infantry down the same approach corridor within a 20-second window. Because the targets arrive in close succession and occupy roughly the same grid square on your tactical map, a single well-timed HCHE round at Charge 2 or 3 will catch the leading element in the lethal zone and the trailing elements in the overpressure ring. According to community testing, a wave of four to six soft contacts typically costs roughly half as many credits to suppress with HCHE as it does with standard HE, because you fire fewer rounds to clear the same number of contacts.
Clearing Beachheads and Bridge Crossings
Beachheads, bridge crossings, and chokepoint terrain funnel enemy units into a narrow band that maximizes the value of a wide blast radius. When the ranging table shows contacts stacked along a known terrain feature, the HCHE shell's wider cone means you do not need precise ranging to land lethal damage — anything within the splash diameter dies regardless of where inside the cone it sits. This makes HCHE the preferred round for gunners who are still learning to read elevation values off the firing card, because the shell forgives small errors in gun lay.
For night sorties where visibility is poor and the ranging table is your only confirmation of a kill, the Iron Nest star shell provides the illumination you need to spot clustered contacts before committing an HCHE round. Pairing star shell spotting with HCHE clearing is one of the highest-value two-shell combinations in the entire magazine.
When NOT to Use HCHE
HCHE is the wrong choice whenever the targets are spread out across multiple grid squares, whenever a single hardened contact dominates the engagement, or whenever your credit reserve is already low and a long sortie is still ahead. In those situations, switch to Iron Nest AP ammo for hard targets and standard Iron Nest HE ammo for isolated soft targets, and save the HCHE shells in your magazine for the next grouped contact that actually justifies the cost.
HCHE Cost Management and Loadout Strategy
Building a Balanced Magazine
Most sorties in the game allow you to bring a mixed magazine of shells, and the correct ratio of HCHE to HE to AP depends entirely on the mission briefing. A defense sortie against expected wave attacks should weight the magazine heavily toward HCHE — typically 40–50% of the explosive shells — with a smaller reserve of AP for the occasional armor contact that appears between waves. A counter-attack sortie against a hardened bunker line should flip that ratio, with AP as the majority and HCHE reserved only for the troop concentrations you know are dug in around the position.
Tracking Credit Spend in Sortie
Because HCHE shells cost noticeably more than HE, a single missed shot burns credits you cannot recover. The gunner's ledger on the desk tracks per-shell expenditure in real time, and reviewing that ledger between waves is the fastest way to identify when you are over-firing HCHE against conditions that did not warrant the premium. A useful discipline is to require at least three confirmed grouped contacts before committing an HCHE round, because the math only works in your favor when the overpressure ring has something to catch.
Storing Reserve HCHE
The armory storage cap on premium rounds like HCHE is tighter than on standard HE, so you cannot stockpile the shell indefinitely. Spend what you bring on each sortie before returning to base, or transfer the unused rounds to a comrade's turret only if the team economy permits it. According to community reports, gunners who leave HCHE rounds sitting in storage between sorties are the most common source of the "missing shells at start of next mission" bug, so log your expenditures and reset the magazine after every sortie.
For sorties where smoke concealment is required to position the turret before the grouped contacts arrive, the Iron Nest smoke shell is the natural pairing for an HCHE-heavy magazine — pop smoke to reposition, then deliver the overpressure sweep on the cluster you have funneled into the kill zone. This smoke-plus-HCHE pairing is one of the most reliable opening sequences in coordinated play.
Frequently Asked Questions
Is Iron Nest HCHE ammo worth the higher cost compared to HE?
Yes, Iron Nest HCHE ammo is worth the premium whenever three or more soft targets overlap inside a single blast radius. The wider cone and overpressure ring confirm more kills per round than standard HE, which offsets the higher per-shell cost. Against isolated targets, stick with HE or AP instead.
When should I use Iron Nest AP ammo instead of HCHE?
Use Iron Nest AP ammo against any single armored target — tanks, armored cars, or fortified bunkers. AP concentrates energy into a narrow penetrator jet and ignores the splash radius, which makes it the correct pick for one-on-one hard target engagements where HCHE would waste explosive energy on empty terrain.
How does Iron Nest HE ammo compare to HCHE for grouped targets?
Standard Iron Nest HE ammo handles two grouped soft targets efficiently but loses economic ground to HCHE once a third contact enters the same grid square. The HCHE round's wider blast radius and overpressure effect turn a three-target cluster into a single-round solution that standard HE cannot match on damage-per-credit.
What powder charge works best with Iron Nest HCHE ammo?
Charges 2 and 3 are the sweet spot for most HCHE engagements, because they balance muzzle velocity against blast radius at mid-range troop concentrations. Use higher charges only when the firing card elevation demands it, and avoid Charge 1 entirely since standard HE is cheaper at that range.
Can I mix HCHE with smoke or star shells in the same sortie?
Yes. Many gunners load a mixed magazine of Iron Nest HCHE ammo, smoke shells, and star shells, because the premium explosive pairs naturally with the concealment and illumination rounds. Smoke positions the turret, star shells spot clustered contacts at night, and HCHE delivers the overpressure sweep that confirms the kill.