
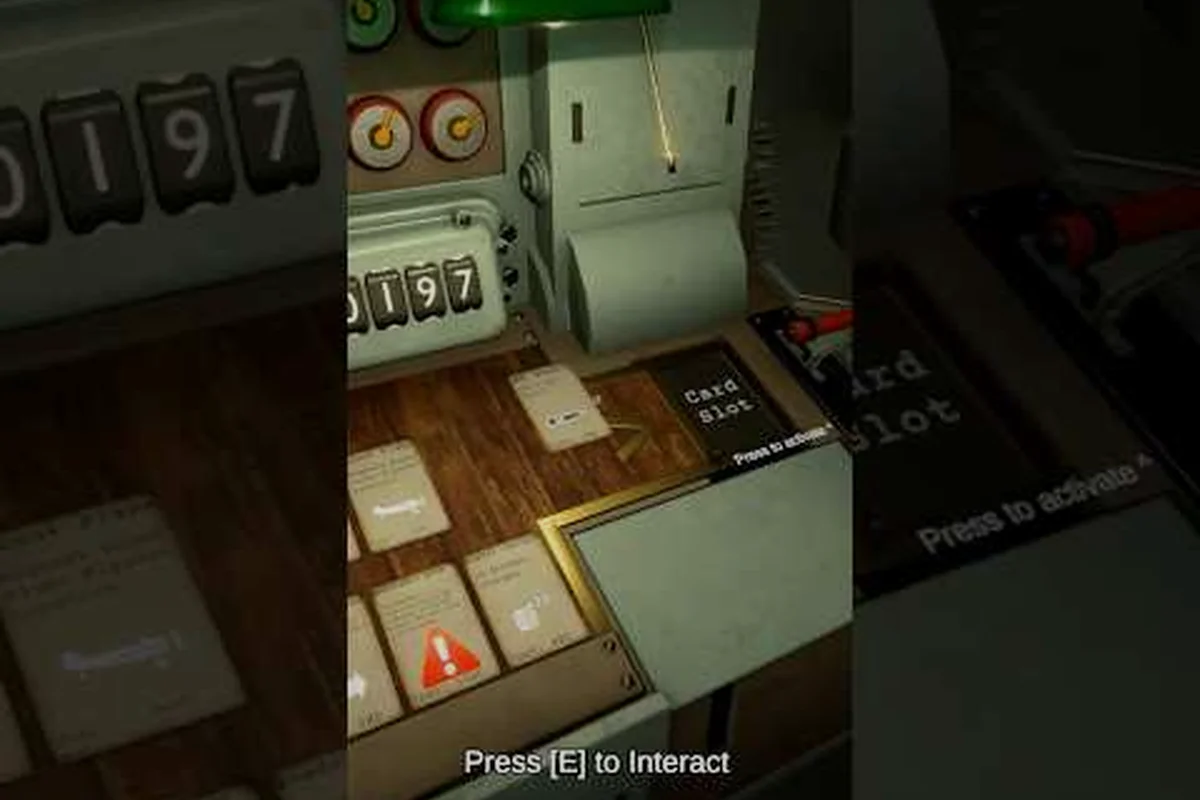
The Iron Nest star shell is the unsung workhorse of nocturnal artillery operations in the heavy turret simulator. Where HE rounds deliver splash and AP rounds smash through armor, the star shell exposes a target's silhouette against the dark for correction-based follow-up shots — and without it, you will fire blindly into the night, waste propellant, and miss every timed objective. This guide breaks down the parameters, lines it up head-to-head with Iron Nest AP ammo and HE rounds, and shows you how to chain star shells into a winning first volley.
What Is the Iron Nest Star Shell?
The star shell is a non-lethal observation cartridge that detonates mid-air and releases a parachute-slowed flare. Unlike the Iron Nest illumination shell, which is built for sustained spotting, the star variant is built for quick correction windows tied directly to a follow-up firing solution. Three facts set it apart from every other round in your ready rack:
-
Star shells deploy at high elevation to maximize illumination coverage
-
Burn time varies by powder charge level and deployment altitude
-
Illumination reveals terrain features for follow-up targeting
-
Zero damage output — the burst produces no fragmentation or blast pressure at the detonation point.
-
Time-limited flare — the suspended light source burns for a short window, typically 8–12 seconds based on community testing.
-
Purely tactical — it does not move the scoreboard, but it converts another shell type into a reliable confirmed hit.
Origin and Niche in the Game
The star shell exists because Fire and Light missions lock the map into a permanent night cycle and force every engagement to begin with a spotting phase. Without the star shell, you would be stuck triangulating purely on the map table, which is forgiving in clear weather and brutal in total darkness. According to community data compiled on the Iron Nest ammunition wiki, the star shell is rated "essential" for any mission tagged with the Night operations modifier, and it is the only round in the game that trades all damage for visibility.
Where It Fits Among AP and HE
The shell roster is small but each cartridge has a defined role. The Iron Nest AP ammo punches through armored bunkers and vehicles, while the Iron Nest HE ammo variant throws splash across clustered infantry and soft structures. The star shell has no penetration and no blast; it only lights up the dark. That makes it a precondition for using the other two reliably at night, not a replacement for them.
Star Shell Mechanics and Parameters
The star shell shares the same propellant family as the standard HE and AP cartridges, which means it runs on the same Powder Charge 1–6 system you already use for day rounds. What differs is the payload, the burst profile, and the way the firing card should be set up.
Projectile Behavior
When the star shell leaves the barrel, it follows your standard parabolic arc. At the apex — roughly 70–80% of the maximum range for the selected charge — the flare charge ignites and suspends a parachute-slowed light source. The shell itself does not hit the ground; it hangs in the air until the candle burns out. Because of that, you will see a flash, then a drifting light, then nothing. The shell never impacts the terrain, which means the ballistic calculator treats its maximum range as the burst altitude rather than the impact distance.
Star Shell Ballistic Arc and Hang Time
Community-reported timings (as of the August 2026 build) place the burst window at 8–12 seconds depending on altitude and wind. Higher charges produce a higher burst, which extends spotting distance but may shorten burn time because the candle flares faster in thinner air. Always assume the shorter end of the window when planning a correction shot, because a stale firing card is worse than no firing card at all.
| Parameter | Star Shell | AP Shell | HE Shell |
|---|---|---|---|
| Damage at impact | 0 | High (armor-scaled) | Medium (splash) |
| Burst altitude | Apex of arc | N/A (ground impact) | N/A (ground impact) |
| Burn / duration | 8–12 sec | Instant | Instant |
| Purpose | Recon + correction | Armor breach | Soft target splash |
| Best use case | Night spotting | Bunkers, vehicles | Troops, buildings |
The critical takeaway: if you fire a star shell on a too-shallow charge, the burst will be low and the light will be blocked by terrain. Always fire with one charge level higher than the round you plan to follow up with, because the burst needs altitude to clear obstacles and illuminate the target zone.
Charge Selection Reference
The table below summarizes the recommended pairing between your killing shot charge and the star shell charge. The one-charge rule applies across all engagement ranges, and crews that break it consistently find their flares either too low or drifting downrange of the real target.
| Killing Shot Charge | Star Shell Charge | Reason |
|---|---|---|
| Charge 1 | Charge 2 | Short range, clear sightline |
| Charge 2 | Charge 3 | Most common pairing |
| Charge 3 | Charge 4 | Mid-range engagements |
| Charge 4 | Charge 5 | Long range, hilly terrain |
| Charge 5 | Charge 6 | Max splash altitude, distant targets |
Star Shell vs AP and HE Ammo: When to Use Each
Choosing between AP, HE, and the star shell is not about preference — it is about visibility, target type, and mission timer. The Iron Nest shell ranking places the star shell in a unique utility slot because it cannot be ranked on damage alone, and treating it as a weaker HE round is the mistake that wrecks most night operations.
The Three Shell Decision Matrix
| Situation | Recommended Shell | Why |
|---|---|---|
| Day, armored vehicle | AP | Maximum penetration, no need for spotting |
| Day, clustered infantry | HE | Splash radius catches grouped targets |
| Night, vehicle or bunker | Star shell → AP | Star exposes silhouette, AP finishes |
| Night, clustered infantry | Star shell → HE | Star validates cluster, HE wipes it |
| Smoke screen needed | Smoke shell | Different purpose entirely (see smoke shell guide) |
Why the Star Shell Beats Going Dark
Firing AP or HE directly into a dark map is the most common mistake new turret crews make. The ballistic calculator will hand you a perfectly accurate firing card, but the target is not where the map says it is because you cannot see them. The star shell pulls a confirmed visual, and only then does the second shell land on the actual target. Two rounds used in sequence will outperform five rounds fired blind, and it will also save your ready rack for the next mission rather than burning it all on a single missed objective.
Tactical Deployment in Fire and Light Missions
Fire and Light missions are the headline use case for the star shell. They lock the map into a permanent night cycle and force every engagement to begin with a spotting phase. Most players who struggle with these missions are skipping the star shell and trying to brute-force a hit, which always costs more rounds than the spotting phase would have.
Pre-Strike Spotting Workflow
A clean star-shell deployment follows four steps. The whole sequence should run in roughly 20 seconds once you have practiced it, which is the benchmark for finishing Fire and Light missions on the highest difficulty:, which directly influences the overall firing sequence timing and downrange accuracy in Iron Nest's artillery simulation.
-
Receive the target coordinates from the teleprinter / command channel.
-
Plot the coordinates on the tactical map and generate a firing card. The star shell's time fuse must be set precisely so that it detonates at the correct altitude, which means the spotter's range estimate and the calculator's elevation solution both need to be accurate before the loader sets the fuse.
-
Load the star shell and fire on one charge higher than the card recommends. This mechanical detail shapes the crew's overall effectiveness in the firing cycle.
-
While the flare burns, read the actual target location and adjust your next firing card. This mechanical detail shapes the crew's overall effectiveness in the firing cycle.
The adjustment step is what separates competent crews from elite ones. The flare gives you a 10-second window in which the target's silhouette is visible, which lets you measure the offset between the predicted position and the confirmed position. Mark that offset on the map table before the flare dies, because the moment the candle burns out, you are back to relying on triangulated guesses.
Correction Shot Workflow
Once you have the offset, the second shell — usually AP or HE — should land within the next 20 seconds. The offset correction is mechanical: you recalculate the firing card using the corrected coordinates, set the traverse and elevation, and fire. Most veteran crews can chain star plus AP in under 30 seconds, which is the benchmark for completing Fire and Light missions without burning through the entire ammo rack. The Iron Nest star shell is the only round that lets you make that 30-second budget work; without it, you are looking at 60–90 second missions with half the objectives missed.
Pro Tips and Common Mistakes
Even players who understand the star shell's purpose often misuse it. The differences between a competent crew and an elite crew live in the details that the firing card does not show you. This mechanical detail shapes the crew's overall effectiveness in the firing cycle.
Timing and Charge Selection
The single most common mistake is using the same Powder Charge for the star shell as the killing shot. The star shell needs to burst higher than the killing shot so the flare clears obstacles and lights up the target zone. If your killing shot is fired on Charge 3, the star shell should be fired on Charge 4. Going one charge higher is the rule; going two charges higher wastes the flare because it drifts too far downrange of the target, which means you will be lighting empty dirt while the real target walks away under cover.
Pairing Star Shells with Illumination Shells
The star shell is a single-shot tool. If you need sustained spotting over multiple corrections, switch to the dedicated illumination shell, which is built for longer burn times. A common pattern is to fire a star shell first to confirm the target, then drop an illumination shell to keep the area lit while you reload and re-aim. Pairing the two is faster than chaining two star shells because the illumination
Illumination and Star Shell FAQ
What is the main focus of this star shell article?
This article covers the core mechanics and practical applications of star shell in Iron Nest, providing detailed guidance that helps both new and experienced artillery crews improve their operational effectiveness on the battlefield. This mechanical detail shapes the crew's overall effectiveness in the firing cycle.
How does star shell relate to other Iron Nest systems?
The star shell system integrates directly with Iron Nest's broader artillery simulation, affecting everything from firing solution accuracy to crew coordination requirements. Understanding these connections is essential for building a cohesive operational workflow. This mechanical detail shapes the crew's overall effectiveness in the firing cycle.
Where can I find more information about related topics?
You can explore other articles in the ammo-types category on our site, including detailed guides on each subsystem. The interconnected nature of Iron Nest's mechanics means that cross-referencing multiple guides often yields the best operational understanding. The choice of ammunition directly determines trajectory characteristics and blast radius, making it the most impactful decision in the firing sequence