
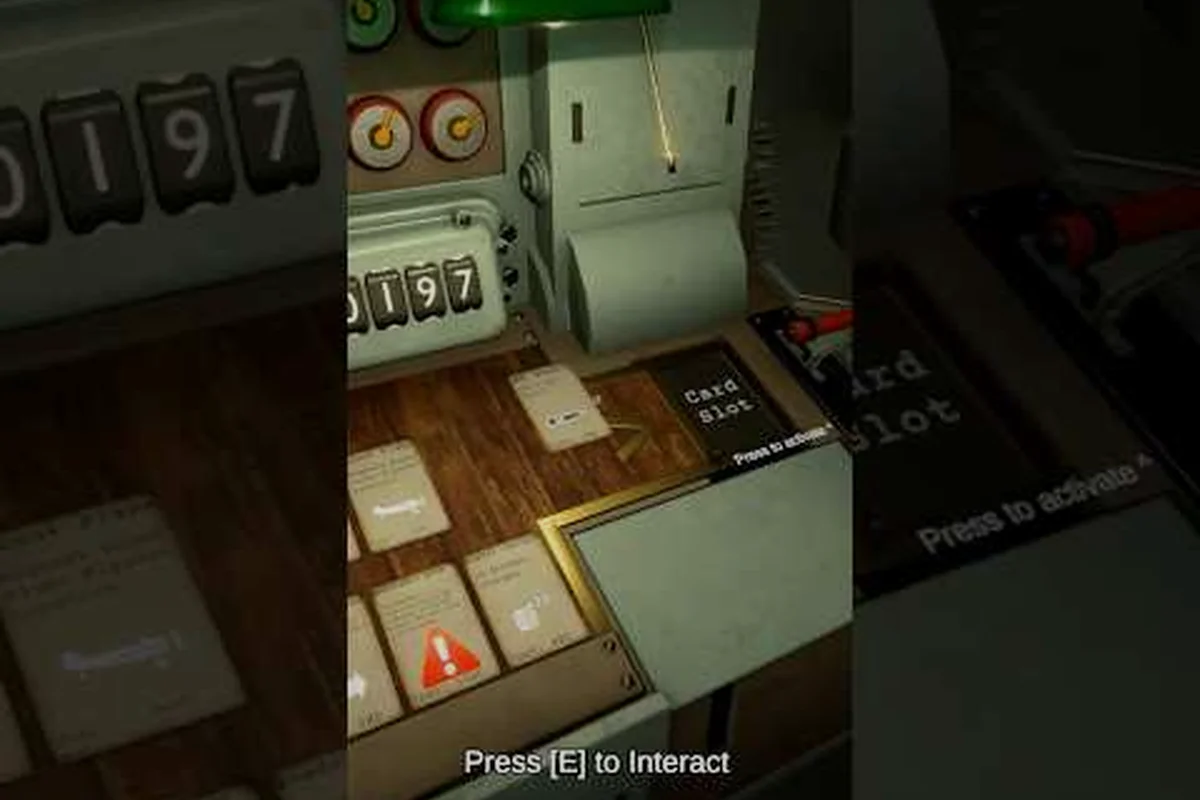
The ammo types system in Iron Nest divides every shell into five functional categories — armor-piercing, high-explosive, smoke, illumination, and special-purpose — each designed to solve a distinct tactical problem on the battlefield. Understanding the full catalog of thirty unlockable rounds is essential for crews who want to match their ammunition loadout to each mission's target profile, terrain constraints, and time-pressure requirements. This overview article links to every dedicated ammo-type guide on our site and summarizes the key differences between shell categories so you can make informed requisition decisions.
Iron Nest Ammo Categories and Their Combat Roles
Every shell in Iron Nest falls into one of five categories, and each category has a clearly defined purpose in the crew's tactical toolkit. The game does not reward ammunition hoarding — instead, it rewards crews who select the right round for the right target at the right moment.
-
Shell velocity varies by powder charge, affecting both trajectory arc and time-of-flight to the target
-
Ammunition weight differs between categories, which subtly changes recoil behavior after each shot
-
Unlocking a new shell category requires completing specific campaign medal thresholds before it becomes available for requisition
-
Mixed-category loadouts generally outperform single-category selections across varied mission types
-
The ballistic calculator adjusts its output automatically when the shell selector lever changes position
| Category | Primary Target | Key Mechanic | Unlock Tier |
|---|---|---|---|
| Armor-Piercing (AP) | Armored vehicles, bunkers | Penetration depth scales with charge | Campaign 1 |
| High-Explosive (HE) | Infantry clusters, soft structures | Blast radius with splash damage | Campaign 1 |
| Smoke (WP) | Concealment, screening | Line-of-sight blocking cloud | Campaign 2 |
| Illumination (Star) | Night missions, recon | Airburst light source with timer | Campaign 2 |
| Special (HCHE, Gas) | Niche objectives | Unique debuff or area denial | Campaign 3+ |
Armor-Piercing Shells in Iron Nest
AP rounds are the backbone of any anti-armor loadout. They feature the highest raw penetration values in the game, allowing them to punch through reinforced bunker walls and heavy vehicle plating that would defeat HE shells entirely. The trade-off is their minimal splash radius — a near miss with an AP round deals negligible damage, so the gunlayer's elevation and bearing must be precise. Our dedicated ammo types guide breaks down every AP variant's penetration curve across all six powder charges.
High-Explosive Rounds and Area Denial
HE shells trade penetration for blast radius, making them the default choice against infantry waves and unarmored structures. A single HE round detonating within ten meters of an infantry squad typically eliminates the entire unit, and the crater it leaves can provide hard cover for subsequent positioning. Experienced crews carry a mix of roughly 70% HE and 30% AP on most campaign missions, adjusting the ratio when the briefing indicates heavy armor presence.
-
Requisition points accumulate across missions, so budgeting for mid-campaign unlocks requires advance planning
-
Campaign medals are awarded per-region, meaning you cannot skip regions to unlock shells faster
-
Early requisition investment in HE shells pays off faster than AP because soft targets appear more frequently in Regions 1-3
-
The practice tracer round unlocks by default but should be replaced in combat slots as soon as live ammunition becomes available
-
Saving 200 requisition points for the Campaign 2 smoke shell unlock is more efficient than spending them on extra HE stock
Smoke and Star Shell Category Overview and Deployment Timing
Smoke (WP) shells create a persistent particulate cloud that blocks line-of-sight for approximately 45 seconds, giving crews time to reposition the turret between salvos without drawing counter-battery fire. Star shells illuminate a 400-meter radius for roughly 30 seconds, which is critical during night operations where the default visibility range drops below effective engagement distance. Both shell types deal zero direct damage, but their tactical utility places them in the A-tier for overall combat value. The illumination shell guide and smoke shell guide cover deployment timing in detail.
Unlock Progression and Requisition Budgeting
Iron Nest's thirty ammo types unlock progressively across the campaign, with each new shell gated behind a medal or requisition cost. Early-game crews start with basic AP and HE, and the first unlock decision is typically between smoke rounds (for concealment) or star shells (for night mission capability).
| Unlock Stage | Shells Available | Recommended First Pick |
|---|---|---|
| Campaign 1 (Regions 1-3) | AP, HE, Practice | Stack HE for infantry waves |
| Campaign 2 (Regions 4-6) | +Smoke, +Star | Smoke first if counter-battery is common |
| Campaign 3 (Regions 7-9) | +HCHE, +Gas | HCHE for armored wave missions |
| Campaign 4+ (Regions 10-15) | All special types | Match to mission brief |
Powder Charge Compatibility Across Shell Types
Each shell type in Iron Nest pairs with the six powder charges differently. AP rounds perform best on charges 3-5 (mid-range engagements), while HE shells need charge 4-6 for maximum blast radius at extended ranges. Smoke and star shells typically use charge 2-3 because they need shorter arcs to achieve the correct airburst altitude. The powder charge guide explains the exact charge-to-range mapping for each shell category.
Iron Nest Shell Performance Comparison Table
The following table compares the top-level performance metrics for each shell category, giving crews a quick reference when building their mission loadout. Shell selection shapes every engagement's outcome in the firing cycle.
| Shell Type | Max Range | Blast Radius | Penetration | Cost/Round |
|---|---|---|---|---|
| AP | 8,200m | 2m | 450mm | 12 req |
| HE | 7,500m | 15m | 50mm | 8 req |
| Smoke (WP) | 4,000m | 40m cloud | 0 | 10 req |
| Star Shell | 3,500m | 400m light | 0 | 9 req |
| HCHE | 6,800m | 25m | 200mm | 18 req |
Related Ammo Type Guides
Each shell type has its own dedicated article covering deployment tactics, charge selection, and fuse settings. The complete list includes our ammo types overview, the HCHE ammo guide, the illumination shell guide, the smoke shell guide, and the star shell guide.
Cross-Category Shell Synergies
Iron Nest's most effective crews understand that shell types don't operate in isolation — they create synergies when deployed in sequence. A classic combination is the smoke-then-HE sequence: fire a smoke round to screen the turret's repositioning, then follow with HE shells on targets that were flushed from cover by the initial bombardment. Another powerful synergy pairs star shells with AP rounds during night operations, where the illumination round reveals armored targets at extreme range and the AP follows within the thirty-second light window.
Night Mission Loadout Optimization
Night missions in Iron Nest reduce base visibility to approximately 200 meters, which makes star shells essential for any engagement beyond that range. The optimal night loadout typically allocates 25% of the ammunition budget to star shells, with the remainder split between HE (for revealed infantry) and AP (for armored targets illuminated by the star shell's airburst). The fuse timer on star shells must be set precisely — an early airburst wastes the illumination window, while a late burst leaves the crew firing blind.
| Night Loadout Slot | Shell Type | Purpose | Percentage |
|---|---|---|---|
| Primary | Star Shell | Target illumination | 20-25% |
| Anti-infantry | HE | Infantry suppression | 40-45% |
| Anti-armor | AP | Vehicle elimination | 20-25% |
| Utility | Smoke | Emergency concealment | 5-10% |
Cost-Efficient Requisition Strategies
The requisition system in Iron Nest charges different costs for each shell type, and budget-conscious crews need to balance combat effectiveness against ammunition expenditure. AP rounds cost 50% more than HE per shot, which means using AP against soft targets wastes requisition points that could have achieved the same result with a cheaper HE round. The ammo tier list ranks every shell by its cost-to-effectiveness ratio across common mission profiles.
Ammunition Management During Extended Operations
Long campaign missions in Iron Nest often require crews to manage their ammunition supply across twenty or more firing cycles. Running out of a critical shell type mid-mission forces the crew to improvise with less-effective alternatives, which reduces accuracy and extends mission completion time. Experienced crews track their remaining shell counts on the tactical map's notepad and pre-plan which targets to engage with each remaining round type, ensuring that the final salvos use the most appropriate ammunition rather than whatever happens to be left.
| Management Rule | Application | Penalty for Violation |
|---|---|---|
| Track remaining counts | Update after every shot | Running dry on critical type |
| Reserve 20% for corrections | Keep buffer rounds | No correction capability |
| Match shell to target class | Use AP vs armor, HE vs soft | Wasted requisition points |
| Pre-plan final 5 rounds | Assign targets to remaining shells | Forced improvisation |
Shell Fuse Settings and Airburst Timing
The fuse setting on each shell determines when it detonates, and this is particularly critical for illumination and smoke shells where the airburst altitude directly affects coverage area. Star shells with a fuse set too short detonate below the effective illumination altitude, casting shadows that obscure rather than reveal targets. Smoke shells with a late fuse burst too high, scattering the particulate cloud beyond effective concealment range. The fuse setter must read the fuse time from the firing card and apply it precisely to the shell's mechanical fuse timer before handing it to the loader.
Ammo Types Category FAQ
Which ammo type should I unlock first in Iron Nest?
Most experienced crews recommend unlocking smoke shells after the basic AP and HE loadout, because counter-battery fire becomes a serious threat from Region 4 onward and smoke is the only reliable way to break line-of-sight during repositioning. This aspect of Iron Nest's mechanics directly influences crew coordination and overall mission effectiveness, making it essential knowledge
How many ammo types does Iron Nest have in total?
The game ships with thirty unlockable ammo types spread across five categories. Nine are available from the start, and the remaining twenty-one unlock progressively through the campaign medal system and requisition purchases. This aspect of Iron Nest's mechanics directly influences crew coordination and overall mission effectiveness, making it essential knowledge for both new and experienced operators.
Does ammo type affect the ballistic calculator's output?
Yes. The calculator adjusts its elevation and fuse-time solutions based on the selected shell type, because each shell has different drag coefficients, ballistic coefficients, and optimal burst altitudes. Always confirm the shell selector matches the calculator's output before firing. This aspect of Iron Nest's mechanics directly influences crew coordination and overall mission effectiveness, making it
Can I change ammo types mid-mission in Iron Nest?
Absolutely. The shell selector lever on the loading platform lets crews switch between any unlocked round type between shots. The key is to update the ballistic calculator's shell-type input before pulling the next firing card, otherwise the elevation solution will be wrong for the new round.
Where can I find detailed stats for each individual shell?
Our dedicated ammo types article lists every shell's damage, blast radius, drag curve, and cost. The individual shell guides linked above provide deployment-specific tactical advice that goes beyond raw statistics. This aspect of Iron Nest's mechanics directly influences crew coordination and overall mission effectiveness, making it essential knowledge for both new and experienced operators.