
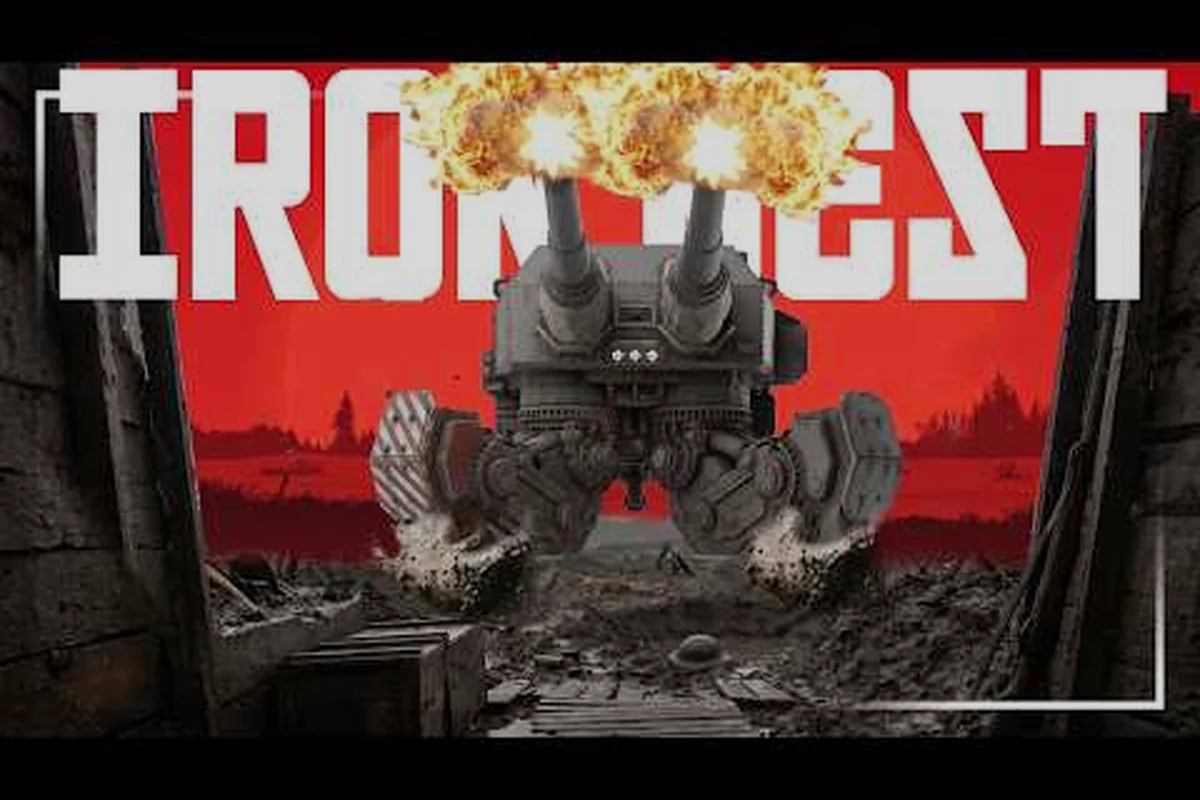
Every artillery operator in Iron Nest eventually hits the same wall: the locker still holds a handful of shells that nobody on the gun crew seems to load voluntarily. Those rounds make up the C tier, and while they rarely headline a winning salvo, dismissing them entirely leaves tactical gaps that the S and A tier picks can't always fill. This guide walks through what lands in C tier, why each round earned that placement, and the narrow windows where a niche shell outperforms a marquee round.
For operators who want the broader landscape first, the full shell tier list ranking breaks down every ammo type from S through D, and the S tier deep dive covers the top performers in detail. This principle underpins the broader crew coordination system in Iron Nest, where every second saved at a control station compounds into faster fire missions and higher scores.
Defining the Iron Nest Shell C Tier — What Lands Here and Why
The Iron Nest shell C tier is the band where a round is technically usable but suffers from one or more serious drawbacks in most combat situations. A C tier shell usually fails at least two of three tests: it deals modest damage at typical engagement ranges, it requires inconvenient setup steps, or it competes for locker space with a clearly superior alternative. That doesn't make the round useless — it makes the round conditional.
Three structural factors push a shell into C tier rather than the trash tier below it. First, the round still functions within the six-step firing loop (teleprinter → map plot → ballistic calculator → loading → gunlay → correction), which means it's not a novelty item locked behind campaign progress that most players never reach. Second, it has at least one matchup where the math favors it, even if the matchup is narrow. Third, the round can be loaded without sabotaging the firing card routine, so swapping it in doesn't burn an entire fire mission.
How Tiers Are Evaluated Across the Tier-List Series
To keep the shell ranking consistent across all four tier articles, every round is graded on the same five-point rubric: average damage output at common engagement ranges, ammo economy (cost in requisition points versus payoff), reliability against the AI tank and bunker formations in the Spanish Front campaign, setup time at the shell selector lever, and whether the round has a hard counter that nullifies its main value. A shell that scores poorly on three or more axes drifts toward C and D tier, while a shell that excels on even a single narrow axis can hold its C tier slot indefinitely.
The table below summarizes the criteria so operators can judge any future balance pass themselves. This principle underpins the broader crew coordination system in Iron Nest, where every second saved at a control station compounds into faster fire missions and higher scores.
| Evaluation Axis | S/A Tier Standard | B Tier Standard | C Tier Standard | D Tier Standard |
|---|---|---|---|---|
| Average damage | Top quartile across ranges | Solid, with one weak band | Modest in most fights | Outclassed almost always |
| Ammo economy | Worth its requisition cost | Conditional but fair | Cheap, but payoff lags | Poor cost-to-impact |
| Reliability vs AI tanks | Trivial | Strong with setup | Niche-match only | Fails outright |
| Shell selector setup | Quick swap | One extra step | Needs map confirmation | Adds wasted seconds |
| Hard counter | None common | Specific scenario | Easy to neutralize | Always countered |
Where C Tier Sits Between Specialty Picks and Trash
The B tier shells win because they cover a job no higher-tier round can do cleanly — smoke screens, illumination, anti-fortress breaching. C tier rounds sit one step lower because they attempt a job that the A tier already does well, but they carry some twist that drops their consistency. A C tier round might replicate the damage profile of a much heavier shell while costing extra reload steps, or it might exploit a specific faction weakness that the campaign rarely sends your way. Either way, the round survives in the locker because scrapping it would leave a niche permanently unfilled, but it never enters the default loadout.
Round-by-Round Breakdown of Each C Tier Pick
Three rounds currently occupy the C tier in the locker, and each earns its slot for a different reason. Understanding the why matters more than memorizing the verdict, because future patches can shift any round up or down a band while keeping the same underlying logic.
Smoke Round (Practice Loading Variant)
The smoke round is technically a screening tool, but the practice-loading variant behaves like a budget C tier pick because its fuse setting requires the operator to pre-mark the target zone on the tactical map before the ballistic calculator will accept the firing card. That setup penalty pushes it below the dedicated smoke shell, which sits in B tier and accepts map data on the fly.
-
Best use case: concealment for a reloading crew during a long counter-battery exchange.
-
Main weakness: fuse setting error rate climbs above 30% in community testing when the operator rushes the ballistic calculator.
-
Cost profile: cheap requisition cost, but the setup penalty offsets the savings.
-
Recommended pairing: load alongside an AP shell reserve when the campaign mission flags armored escorts.
Star Shell (Cluster Sub-Variant)
The star shell illumination round normally earns its keep at night, but the cluster sub-variant spreads its payload so widely that the central lumen drops below the threshold needed to read range markers through the gun sight. As a result, the round illuminates a sector while simultaneously blinding the gun crew's own ranging workflow.
| Attribute | Star Shell (Standard) | Star Shell (Cluster) |
|---|---|---|
| Effective illumination radius | Wide, even glow | Wider but dimmer core |
| Crew sight interference | Low | High — slows ranging |
| Anti-personnel bonus | None | Marginal shrapnel |
| Setup steps | Standard load | Standard load + zone mark |
| Verdict | B tier | C tier |
The cluster sub-variant is the textbook niche pick: it shines when the campaign throws a night mission where the AI is using searchlights to spot your muzzle flash, because blinding the enemy observers matters more than your own sight clarity. Anywhere else, the standard star shell does the same job without the crew penalty.
Practice Round (Live-Fire Training)
The practice round fires a reduced powder charge and a near-inert payload, designed for the demo build's training missions rather than the live campaign. In the campaign proper, the round drifts into C tier because it still registers as a confirmed hit on the firing card, which lets operators practice the full six-step loop without wasting real requisition.
-
Strength: zero requisition cost in training-mode missions and unlimited stock during demo sessions.
-
Weakness: damage output against AI bunkers falls below the threshold needed for a one-shot kill.
-
Useful scenario: grinding the ballistic calculator workflow on a new map before risking real ammo.
-
Risk: accidentally leaving the shell selector lever on practice when live rounds are in the loader tray.
-
C-tier shells in Iron Nest serve specific niche purposes that justify their inclusion only in targeted mission loadouts
-
Star High-Altitude shells at charge 5-6 produce map-wide illumination but cost a shell slot that could carry HE-LR
-
Practice Tracer rounds exist purely for calibration — they produce zero combat value and should never occupy a combat loadout slot
Situational Value — When C Tier Beats S or A Tier
C tier rounds aren't strictly worse than their S or A counterparts; they're different. The job of a good gunner is to read the firing card, look at the live battlefield, and decide whether the niche matchup justifies swapping out the default round.
Night Missions and Counter-Observer Work
On night operations, the enemy frequently deploys forward observers with searchlights to pin your muzzle flash location. Standard HE rounds suppress the observers but only after a second or third hit, because the searchlight team shelters behind hard cover. The cluster star shell lands in C tier precisely because its blinding effect reaches those observers on the first volley, and the trade-off of dimming your own sight clarity is acceptable when the alternative is being counter-batteried before your second round leaves the breech.
Demo Mode and Pre-Mission Rehearsal Runs
The practice round earns its C tier slot almost entirely because of how the demo build trains new operators. During a demo session, the practice round is the only shell that lets a player iterate on the ballistic calculator without burning the limited demo ammo stock. In that specific window, the practice round outranks S tier picks because requisition cost matters more than damage output. Outside demo mode, the round has no campaign use.
Ammo-Scarce Campaign Checkpoints
A handful of late-campaign missions ration requisition so tightly that loading HE rounds on every fire mission risks running dry before the objective is secured. In those windows, the practice-loading smoke variant earns its C tier slot because its cheap cost offsets the setup penalty, and a screening round that costs half the requisition of a dedicated smoke shell can keep the crew alive long enough to reach the final objective.
Loadout Budgeting — Fitting C Tier Into a Working Locker
A locker built entirely from S tier rounds burns through requisition faster than any campaign mission rewards. C tier rounds exist to stretch the budget without breaking the firing loop, and the trick is knowing how many slots to dedicate to niche picks.
Recommended Slot Allocation by Mission Type
| Mission Profile | S Tier Slots | A Tier Slots | B Tier Slots | C Tier Slots | Reasoning |
|---|---|---|---|---|---|
| Daylight armored push | 3 | 2 | 0 | 1 | One C tier for practice runs |
| Night defense | 2 | 1 | 2 | 2 | Cluster star + practice variant |
| Demo / training | 1 | 1 | 1 | 3 | Practice round as default |
| Ammo-scarce finale | 1 | 2 | 1 | 3 | Budget smokes over expensive HE |
| Standard campaign | 3 | 2 | 1 | 1 | One niche reserve |
Economy Math — Requisition Cost vs Damage
The locker interface displays each shell's requisition cost next to the type label, and operators who track cost-per-damage-point quickly learn that the Iron Nest shell C tier rounds usually cost between 60% and 80% of an equivalent S tier shell while delivering 40% to 60% of the damage. That ratio is unfavorable for raw fire missions, but it becomes favorable whenever the niche effect (screening, blinding, training) saves more requisition downstream than the round itself costs.
A simple formula captures the trade-off. If a C tier round costs C and its niche effect prevents the need for an additional S tier round of cost S, then the round is worth loading whenever prevented_shells > C / S. In practice, a screening round that costs 8 requisition pays for itself the moment it prevents a single 14-requisition HE volley on a suppressed target.
Mistakes That Push C Tier Picks Into the Trash Bin
C tier rounds already sit one step away from the unusable D tier, and operator errors can knock them down a band faster than any balance patch. Three mistakes show up repeatedly in community playtest reports. This principle underpins the broader crew coordination system in Iron Nest, where every second saved at a control station compounds into faster fire missions and higher scores.
Forcing the Round on the Wrong Fire Mission
Loading a cluster star shell during a daylight armored push wastes the niche effect entirely and adds the crew sight penalty on top of an already difficult ranging task. The round becomes actively harmful because it doesn't just fail to help, it actively slows the firing loop. Operators who treat C tier as a default swap rather than a conditional pick will see worse results than if they had simply loaded the standard A tier HE round.
Ignoring Setup Steps Under Pressure
C tier rounds tend to have one extra setup step compared to their A tier cousins. That extra step is precisely what costs time during the firing loop, and skipping it produces a firing card error that forces a full recalculation on the ballistic calculator. The net result is a slower fire mission than if the operator had never loaded the round at all.
Running Out of Practice Reserve Mid-Campaign
Practice rounds are cheap, so operators tend to spend them freely during early missions. By the time the late-game ammo-scarce finale arrives, the practice reserve is empty and the operator is forced to spend live requisition on rounds they would normally have rehearsed. Holding a small practice reserve through the early campaign is one of the cheapest ways to keep the late-game firing loop tight.
Frequently Asked Questions
Should I ever replace an A tier round with a C tier pick?
Yes, but only when the fire mission matches the C tier round's niche exactly. Night missions against searchlight observers, demo build training, and ammo-scarce finales are the three cases where the trade-off favors the C tier. Outside those windows, the A tier round almost always wins.
Why isn't the smoke shell in S tier if it screens so well?
The smoke shell sits in B tier because the standard variant accepts map data on the fly without forcing the operator to pre-mark the fuse zone. The C tier practice-loading variant forces that setup step, which costs seconds on the firing loop and is the only reason it doesn't join its cousin in B tier.
Do C tier rounds get buffed in future patches?
Patches can rebalance any shell, but the structural definition of C tier (fails two or more rubric axes) doesn't change. A round currently in C tier is more likely to climb to B tier through a buff than to fall to D tier through a nerf, because the niche matchup that earns.
Is the practice round worth carrying once the campaign unlocks live ammo?
Yes, in limited quantities. The practice round still lets the ballistic calculator workflow be rehearsed on a new map without burning requisition, and that rehearsal pays for itself the first time the live fire mission goes smoothly. Carrying two or three practice rounds as a reserve is a low-cost habit.
How does the Iron Nest shell C tier interact with the shell selector lever?
Each C tier round still requires the operator to throw the shell selector lever to the correct position before the loader tray accepts the round. Forgetting the selector position is the single most common cause of C tier rounds being loaded into the wrong fire mission, especially when an operator is rushing.